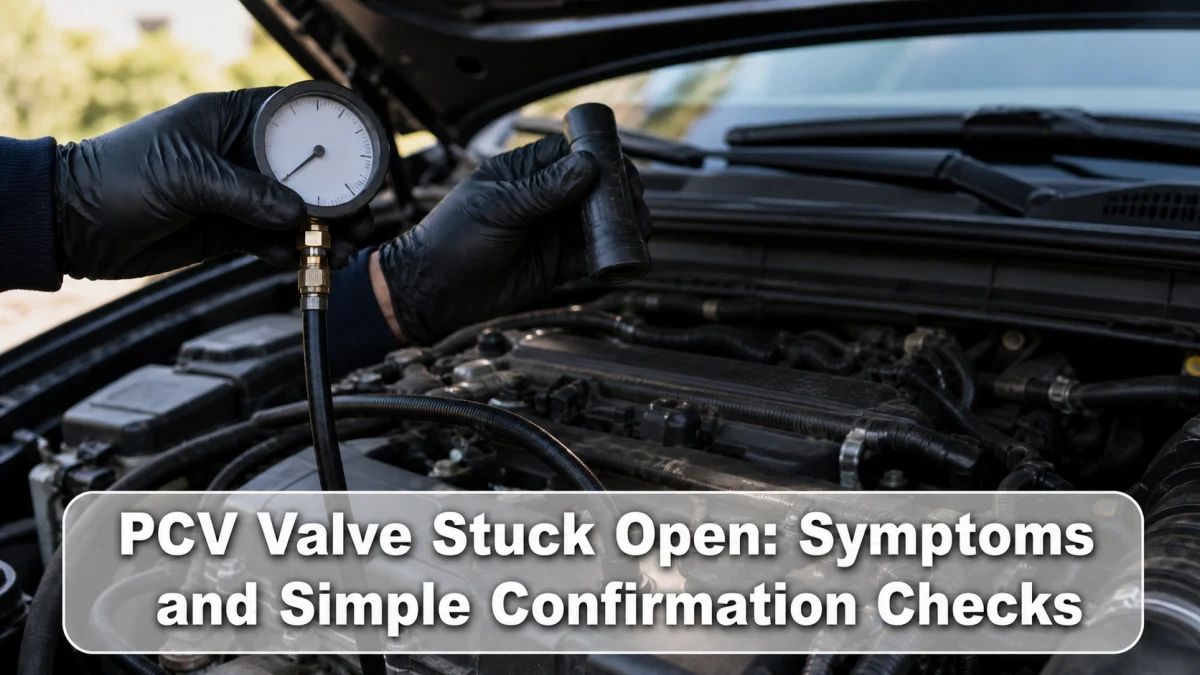
A PCV valve or diaphragm stuck open can act like a vacuum leak, causing rough idle, lean fuel trims, whistling, excessive crankcase vacuum, oil-cap suction, or fault codes. Designs vary: some valves are separate, while others are built into a hose, valve cover, or oil separator. Confirm the system layout before testing.
What the PCV system does
Combustion gases that pass the piston rings enter the crankcase. Positive crankcase ventilation routes those vapors into the intake so the engine can burn them while controlling pressure and fresh-air flow. A valve, calibrated orifice, diaphragm, separator, heated hose, and electronic monitoring may all be part of the system.
Because flow depends on engine operating condition, an opening that is correct under load can be excessive at idle. The system must also separate oil droplets so the engine does not consume too much oil.
Stuck-open versus stuck-closed symptom matrix
| Observation | Stuck-open/too much flow | Restricted/stuck-closed |
|---|---|---|
| Idle quality | Rough or high idle from unmetered air | May be normal until pressure builds |
| Fuel trims | Often more positive at idle | Not a universal lean pattern |
| Crankcase behavior | Excess vacuum and strong cap suction | Positive pressure, oil leaks, dipstick movement |
| Noise | Whistle or honk from diaphragm/hose | Hiss at a newly forced seal or no noise |
| Oil symptoms | Oil drawn into intake on some designs | Oil pushed through gaskets and seals |
| Codes | Lean, idle, or crankcase-flow related | Crankcase pressure or air-path related |
Fuel-trim clues
With a scan tool, compare short- and long-term fuel trims at warm idle and a steady higher engine speed as service information permits. A vacuum leak often has a larger percentage effect at idle, so positive trims may improve as airflow rises. That pattern is not unique to the PCV system; intake gaskets, brake-booster hoses, purge valves, injector delivery, and exhaust leaks can behave similarly.
Record bank-to-bank differences on multi-bank engines. A system affecting both banks differs from a leak at one intake runner, but manifold design can blur the pattern.
Simple confirmation checks
- Inspect the oil cap, dipstick seal, PCV hoses, elbows, valve cover, and intake duct for cracks or disconnection.
- Listen with a mechanic’s stethoscope designed for safe use or a length of hose, staying clear of belts and fans.
- Read relevant codes, freeze-frame data, fuel trims, idle command, and airflow values.
- Measure crankcase pressure or vacuum with the specified adapter and range.
- If service data allows, briefly control a PCV hose and observe whether idle and trims move in the expected direction.
- Smoke-test the intake or crankcase at the stated pressure to locate leaks.
Do not seal the system, drive with emissions hoses disconnected, or apply unrestricted shop air. Excess pressure can damage seals or sensors, and an open hose can introduce unfiltered air.
Document oil and idle changes
Record oil consumption, cap suction, idle speed, warm-up state, and fuel trims before touching the system. Photograph hose routing and part numbers. If symptoms change after a hose is moved, inspect for a split hidden at the elbow rather than assuming the valve itself responded. A repeatable baseline makes the post-repair check meaningful.
Why the shake test is unreliable
A traditional loose valve may rattle when shaken, but a rattle does not prove correct metered flow. Integrated diaphragms and calibrated orifices may not rattle at all. Use the component and system test for the exact engine rather than treating sound as a pass/fail standard.
Look-alike problems
A leaking intake manifold gasket, purge valve stuck open, brake-booster leak, cracked air duct, loose oil cap, low fuel pressure, contaminated mass-airflow sensor, or exhaust leak ahead of an oxygen sensor can create lean symptoms. Compare air-side and coolant-side patterns before naming the failed seal.
If the malfunction indicator appeared after service, preserve code data and use the post-oil-change checklist. A PCV hose or cap may have been disturbed, but timing alone is not proof.
Replacement decision
Replace the confirmed valve, diaphragm, hose, separator, or integrated cover with the correct design. Clean oil from intake parts only by approved methods and inspect companion hoses. Some engines need software adaptation or learned-value reset; others relearn normally. Clear codes only after recording data, then verify fuel trims and crankcase pressure through the required drive cycle.
Frequently asked questions
Can a stuck-open PCV cause oil consumption?
Yes on some systems because excessive flow can carry oil mist into the intake, but rings, valve seals, turbochargers, leaks, and other separators must also be considered.
Can I drive with the PCV hose pinched?
No. A pinch is only a brief controlled diagnostic step when approved. Driving can create crankcase pressure, oil leaks, or emissions faults.
Does a whistle prove the PCV valve is bad?
No. It helps locate airflow, but gasket edges, intake ducts, throttle components, and other vacuum circuits can whistle.
Sources
- NHTSA-hosted service bulletin: vehicle-specific PCV diagnosis example
- AutoZone: PCV fault symptoms
- CarParts: PCV system symptom overview
Bottom line: a stuck-open PCV often resembles a vacuum leak. Confirm the design, measure crankcase behavior and fuel trims, and rule out the other air paths before replacing an integrated component.