Plan vehicle-lifting and garage tasks with the correct instructions, suitable equipment and clear stop conditions. Begin with lifting points and support, then choose the maintenance or diagnostic guide that matches the actual problem.
Start with:
Plan vehicle-lifting and garage tasks with the correct instructions, suitable equipment and clear stop conditions. Begin with lifting points and support, then choose the maintenance or diagnostic guide that matches the actual problem.
Start with:
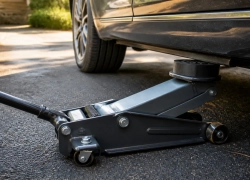
Use a sound, level concrete surface whenever possible. If an emergency forces a brief lift on asphalt, keep people out from under the vehicle and use ...
READ MORE +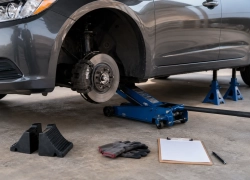
Work on firm, level ground; inspect the jack and stands; confirm rated capacity and approved lift points; chock the grounded wheels; lift slowly; support the ...
READ MORE +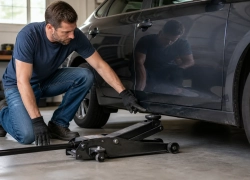
Start with the owner’s manual. Match its diagram to the reinforced pinch-weld notches, frame pads, crossmember, or axle points on the actual vehicle. If the ...
READ MORE +
A safe, model-specific approach to purging trapped air from a hydraulic floor jack and recognizing problems that bleeding will not fix.
READ MORE +
Updated guidance: Build the kit around climate, route, passenger needs, and trip length. Recheck water, food, medication, batteries, first-aid supplies, ...
READ MORE +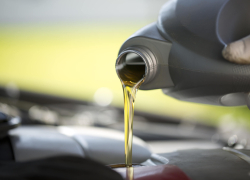
A vehicle-specific oil-change tool and supply checklist covering access, draining, filter removal, torque, lifting safety, cleanup, and recycling.
READ MORE +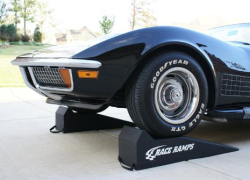
Some links are affiliate links. The site may earn a commission from qualifying purchases at no extra cost to you. Updated guidance: Match ramps to the ...
READ MORE +
A decision-first procedure for using an approved front-center lift point and supporting both sides with jack stands.
READ MORE +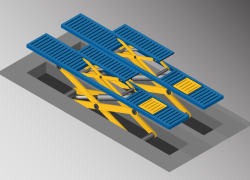
An eight-step emergency tire-change procedure for using a vehicle scissor jack without going under a jack-supported car.
READ MORE +
Use these ten reminders between service sessions. They are an inspection checklist, not instructions for rebuilding a jack or a universal oil-change schedule. ...
READ MORE +