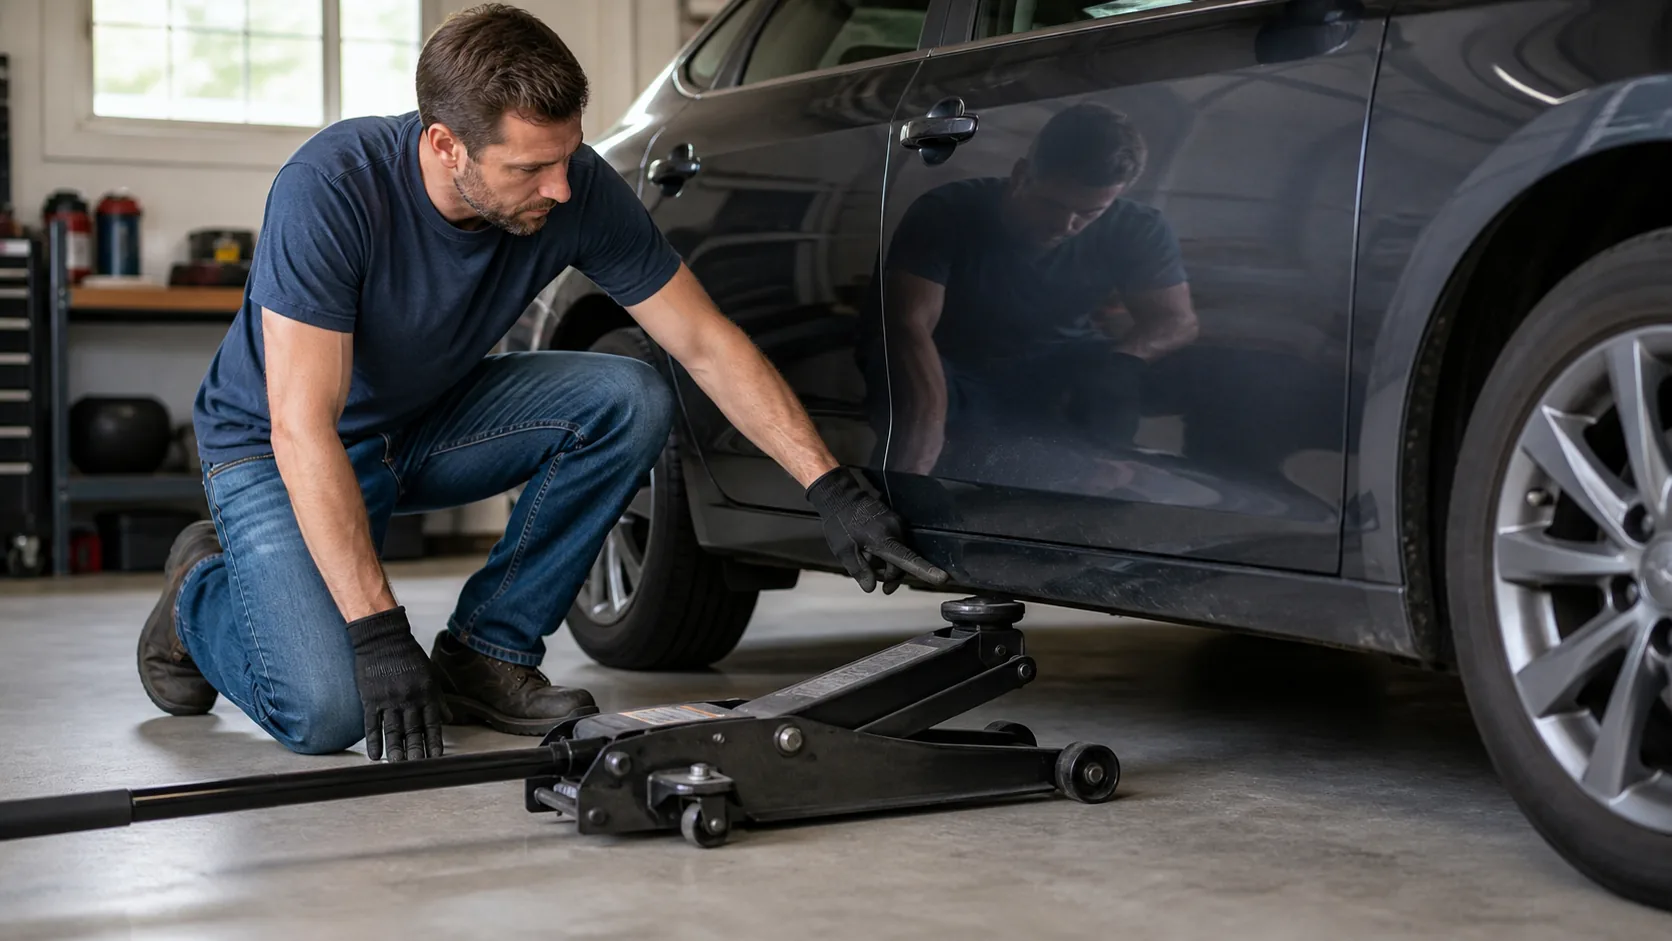
The safest lift starts before the jack handle moves. A floor jack placed under thin sheet metal can crush a seam, damage underbody parts, or slip as the suspension rises. The confusing part is that approved lifting points look different on a unibody car, an SUV, and a body-on-frame truck.
This guide shows you how to identify the points intended for lifting and supporting—not how to guess from whatever looks strong underneath.
Quick answer: Start with the owner’s manual. Match its diagram to the reinforced pinch-weld notches, frame pads, crossmember, or axle points on the actual vehicle. If the diagram and the underside do not clearly agree, stop and obtain model-specific service information.
Check the manual before looking under the car
Open the jacking or tire-changing section and note both the drawing and any written restrictions. Some manuals show four side points for the emergency jack but specify different central points for a service jack. Electric vehicles may also require a particular pad or adapter to protect the battery enclosure.
Keep the page open while you inspect the vehicle. Model years and trim levels can differ, so a forum photo of a similar-looking car is not a substitute for your manual.
Recognize common lift-point designs
Most unibody cars use reinforced pinch-weld sections near the wheels. Look for notches, arrows molded into the rocker trim, or a visibly doubled section of seam. Body-on-frame vehicles commonly use specified frame or axle locations. Some cars provide central front and rear lift pads that let you raise an end before placing stands at the side supports.
The key is reinforcement. A random flat panel may look tidy but can fold immediately. Never load the oil pan, transmission pan, exhaust, steering parts, fuel tank, battery cover, or suspension component unless the manufacturer explicitly identifies it as a lifting point.
Confirm the jack and saddle fit
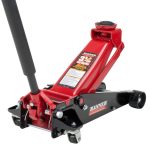
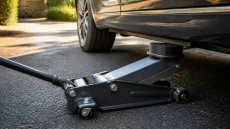
Roll the unloaded jack into position and look from more than one angle. The saddle should contact the designated point squarely, with enough room for the jack to roll slightly as the lift arm travels. A slotted rubber adapter can help cradle a pinch weld, but only when its dimensions suit the seam and the vehicle maker permits that contact.
If a low car blocks your view, use a light and mirror rather than reaching under a vehicle that has not been supported. Do not stack loose wood or improvised spacers on the saddle.
Lift a little, stop, and verify
Chock the wheels that stay on the ground, apply the parking brake when appropriate, and begin on firm, level concrete. Raise the vehicle only until the tire starts to unload. Stop and confirm that the saddle remains centered, the sheet metal is not bending, and the jack can roll freely.
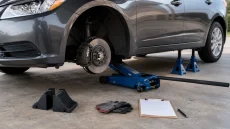
Continue only after that check. Position correctly rated stands at the specified support points, lower the vehicle gently onto them, and give the body a controlled push from outside the danger zone before beginning work.
Common mistakes to avoid
- Assuming every pinch-weld section is equally reinforced.
- Using a suspension arm or differential because another model allows it.
- Placing a stand where the jack must remain, then improvising a second support point.
- Crawling underneath to search while the car is supported only by hydraulics.
Safety reminder for car jacking points: the jack raises the vehicle; it does not replace a support stand. Except for the limited roadside wheel-change procedure described by the vehicle maker, transfer the load to correctly rated stands before any part of your body enters the under-vehicle danger zone.
Frequently asked questions
Are the four notches near the rocker panels always jack points?
They commonly mark reinforced points, but not on every vehicle. Confirm their meaning in the manual before applying a load.
Can I jack from the front crossmember?
Only when the vehicle manufacturer identifies that crossmember and the exact contact area as a service-jack point.
What if the lift point is rusty?
Do not load heavily corroded or deformed metal. Have the structure evaluated and obtain a safe alternative procedure for that vehicle.
Related guides
- our step-by-step floor jack guide
- our jack stand guide
- Jack Up A Car From The Front
- 8 Steps Use Scissor Jack
Final thoughts
Finding the right point takes a few extra minutes, but it protects both the vehicle and the person working around it. Treat the manual diagram, the real underside, and the saddle fit as three checks that must all agree.
Source note for car jacking points: this guide was checked against ASME PASE safety standard overview. Use that safety context together with the instructions, limits, and lift points published by your vehicle and equipment manufacturers.