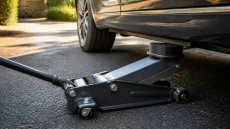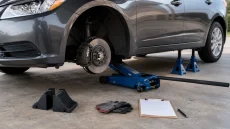
Quick answer: For an oil change you need the exact oil and filter specified for the vehicle, a drain pan and leak-proof recycling container, the correct drain-plug socket, a torque wrench with the manufacturer’s torque value, an appropriate filter tool if access requires it, gloves and cleanup materials, and a safe way to reach the drain point. If the vehicle must be raised, use approved lift points and jack stands—never work underneath a vehicle supported only by a jack.
The most useful checklist starts with the owner or service manual. Oil viscosity, performance specification, fill quantity, filter design, drain-plug seal, undertray fasteners, torque values, service-reset steps, and even whether a drain plug is intended to be reused vary by engine and model year.
Vehicle-specific information to collect first
- Engine code or exact engine option.
- Required oil viscosity and performance/API or manufacturer specification.
- Fill quantity with filter change and the method for checking final level.
- Correct filter part number and whether it is spin-on or cartridge type.
- Drain-plug socket size, torque specification, and washer/seal requirement.
- Undertray or access-panel fastener types.
- Maintenance-light or oil-life reset procedure.
Do not rely on a generic parts-counter match when multiple engines share the same vehicle name. Verify the filter and oil specification against the VIN/engine information and a current manufacturer source.
Oil change tools checklist
| Group | Items | Decision point |
|---|---|---|
| Oil and filter | Correct oil quantity/specification, correct filter, drain-plug washer or seal | Match the exact engine and service interval. |
| Access | Socket set, ratchet, extensions, trim tools, screwdriver or bit set | Use the fastener type that fits fully; do not improvise on plastic clips. |
| Filter removal | Cap socket, band, pliers, or cartridge-housing tool as specified | Choose the tool for the filter/housing; many filters install by hand or to a measured torque. |
| Drain and capture | Wide drain pan, funnel, shop towels, absorbent, leak-proof transport container | The pan must hold more than the full engine capacity and remain stable under the vehicle. |
| Tightening | Calibrated torque wrench in the required range | Use the manufacturer’s drain-plug and housing torque; do not guess. |
| Lifting | Ramps or floor jack, stands, wheel chocks, approved adapters | Use only if needed and only with a complete support plan. |
| Verification | Dipstick or electronic-level procedure, flashlight, record/label | Check level as the manufacturer directs and inspect for leaks. |
Consumables: oil, filter, and seals
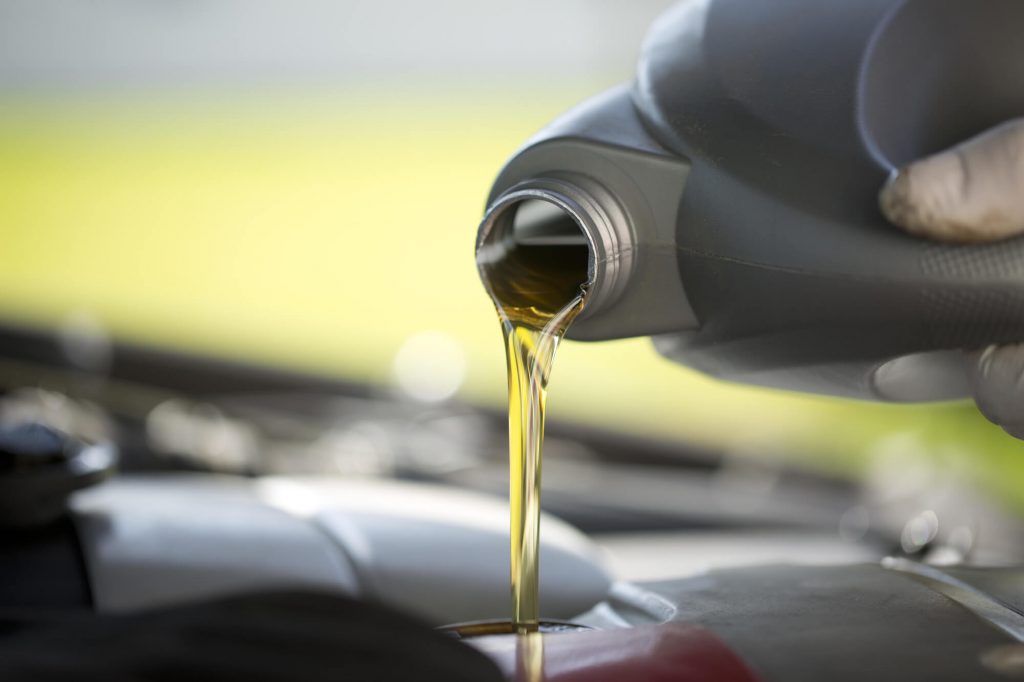
Buy enough approved oil for the documented fill quantity plus only the small amount needed for final adjustment. More is not better; overfilling can cause engine problems. Use the specified filter and replace the drain-plug washer, O-ring, or sealing element when the procedure calls for it. A cartridge filter may include multiple O-rings that belong in exact grooves—placing one on a thread or leaving the old seal behind can cause a leak.
For filter selection, see our oil-filter guide, but let the engine manufacturer’s fit and specification control the purchase.
Access and removal tools
Use a six-point socket that fully fits the drain plug when possible. Long handles create leverage but also make overtightening and thread damage easier. Undertrays may use several clip and screw types; organize them by position instead of forcing a mismatched driver.
Choose a filter wrench only when access or the procedure requires one. A cap-style tool that matches a cartridge housing or filter end can apply more even force than universal pliers. Do not drive a screwdriver through a filter: it creates sharp edges, spills oil, and may still leave the filter stuck.
Drain pan and recycling setup
Select a pan with capacity comfortably above the engine’s full oil fill and a shape that catches the initial stream as well as the final drip. Move the recycling container and funnel into place before opening the drain plug. EPA guidance recommends collecting used oil without spills, storing it in a leak-proof container, keeping it uncontaminated by other chemicals, and taking it to an appropriate collection or recycling location. Used filters may also be accepted after proper draining.
Do you need to lift the vehicle?
Some cars provide drain access at normal ride height or on manufacturer-approved ramps. Others need added clearance. If lifting is required, first locate the approved lift and support points. Follow the complete floor-jack procedure and choose suitable jack stands. Keep the car level if the oil-level procedure requires it; a heavily tilted vehicle may retain oil or produce a misleading level check.
Torque and final verification tools
A torque wrench is only useful when its range covers the specified value and it is used correctly. Start the drain plug and filter housing by hand to avoid cross-threading. Tighten to the exact current specification; do not add thread sealant unless the manufacturer calls for it.
- Confirm the plug, seal, filter, and access panels are installed.
- Add less than the full final quantity, then follow the specified level-check procedure.
- Run the engine only as directed, watching the oil-pressure warning and checking for leaks.
- Shut down, wait the documented interval, and recheck level on the required surface.
- Inspect the filter and drain area again after a short drive.
- Reset the maintenance monitor and record date, mileage, oil specification, filter, and quantity.
If a warning appears afterward, use the diagnostic path in check-engine light after an oil change. Stop the engine promptly for an oil-pressure warning, a significant leak, or abnormal noise.
Compact pre-job checklist
- Exact engine, oil specification, quantity, filter, seal, and torque values confirmed.
- Correct sockets, bits, filter tool, and calibrated torque wrench ready.
- Drain pan, funnel, absorbent, gloves, and leak-proof recycling container ready.
- Lift/support equipment inspected and points verified if added clearance is needed.
- Final level-check and service-reset instructions open before draining begins.
Sources
- US EPA—managing, containing, and recycling used motor oil and filters
- OSHA jack foundation, load support, and inspection principles
The owner/service manual for the exact engine controls oil, filter, torque, access, and level-check specifications.