Quick answer: An inflatable exhaust jack is a recovery bag that can raise part of a stuck vehicle on sand, mud, or snow, where a small conventional jack base may sink. It is not a workshop lift, a jack stand, or a safe support for anyone to go beneath the vehicle. Choose one only when its manual covers your vehicle, terrain, inflation source, contact points, and loaded vehicle weight.
The product category is often called an exhaust jack, air jack, or inflatable recovery jack. Some models inflate from the tailpipe, some from a portable compressor, and some support both methods. The large bag spreads load over more ground than a small metal jack foot, but it also creates different risks: puncture, heat, exhaust exposure, shifting, overinflation, and contact with sharp underbody parts.
When an inflatable recovery jack makes sense
| Situation | Usually a reasonable fit? | Why |
|---|---|---|
| A vehicle bogged in sand, mud, or snow | Potentially | The broad bag can lift while resisting sinkage, creating room to pack material under a tire. |
| Routine garage maintenance | No | A floor jack and correctly placed stands provide a more controlled lifting-and-support system. |
| Changing a tire on a firm roadside shoulder | Usually no | Use the vehicle manufacturer’s emergency-jacking procedure and supplied equipment. |
| Working underneath a vehicle | Never as support | An inflatable bag can deflate, shift, or be punctured. A correctly rated support system is still required. |
| Vehicle with sharp, hot, or crowded underbody surfaces | Only if the product manual identifies a safe placement | Heat and concentrated edges can damage the bag. |
Five buying checks that matter
1. Rated capacity and vehicle weight
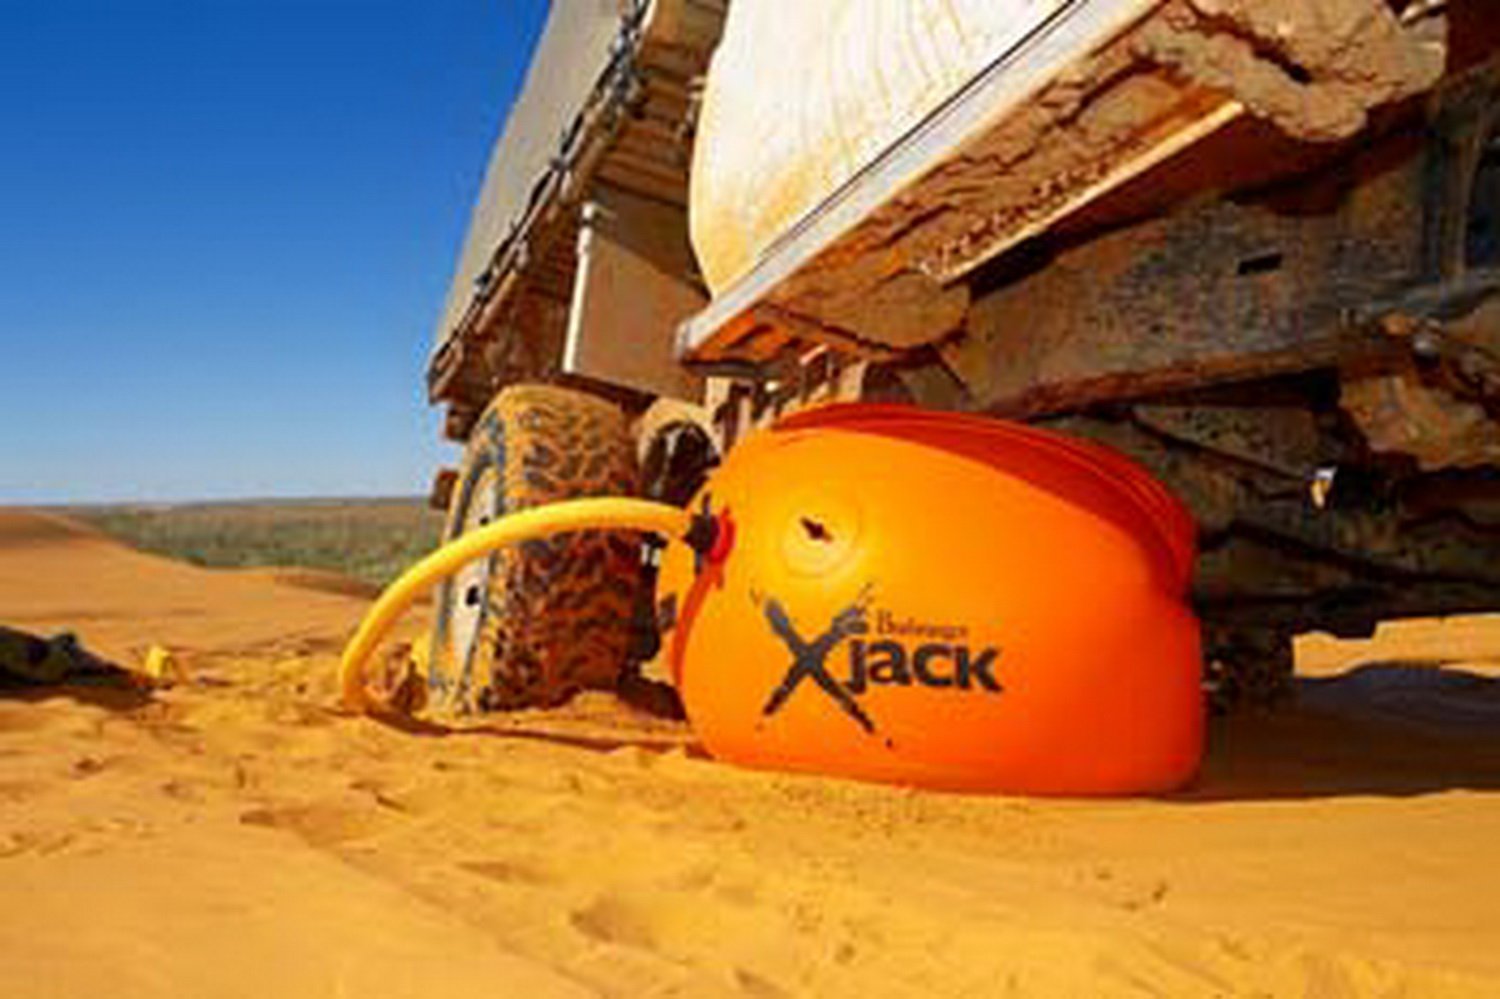
Read the actual product label and manual, not a marketplace title. As one documented example, ARB lists the Bushranger X-Jack RJX01 at a maximum lift capacity of 4,400 pounds (2,000 kg) and says it is not suitable for vehicles over 8,800 pounds gross vehicle weight. Those numbers belong to that exact model; do not transfer them to another bag. Include passengers, cargo, accessories, and recovery gear when considering loaded weight.
2. Inflation method
Tailpipe inflation can be fast, but exhaust shape, dual outlets, leaks, engine condition, and hot components affect compatibility. A compressor connection gives another option and keeps the operator away from the exhaust outlet, but it must match the jack’s valve and pressure limits. ARB’s manual, for example, directs some acute-angle exhaust and dual-exhaust vehicles to use the compressor feature.
3. Lift height and bag footprint
Maximum inflated height is not the same as usable vehicle lift. The bag must start in safe contact with a manufacturer-approved area, expand without rolling toward a sharp edge, and stay below its marked limit. Measure the available underbody space and the height needed to free the tire or place recovery material.
4. Protection and control
Look for a protective mat, reinforced contact surface, temperature-resistant hose components, a controlled deflation method, gloves, repair materials, and clear instructions. A complete kit is more valuable than an anonymous high capacity claim.
5. Manual, parts, and model identity
Buy a model with a traceable manufacturer, downloadable instructions, a readable serial/model label, and a way to obtain replacement hoses, seals, or mats. Availability and specifications change, so verify them at purchase rather than relying on an old review.
Pre-use recovery checklist
- Move bystanders away and assess traffic, slope, rollover, fire, and exhaust hazards.
- Read the product manual and the vehicle recovery/towing guidance.
- Disconnect a trailer or caravan if the inflatable-jack manual requires it.
- Confirm the bag, hose, cone, valves, mat, and seams are undamaged.
- Locate a broad structural contact area free of hot exhaust parts, sharp edges, rotating parts, and fragile panels.
- Plan what will happen after the tire is lifted—traction board, packed material, wheel change, or professional recovery.
- Chock or secure the vehicle as the manual directs; do not rely on the bag to prevent movement.
General use sequence
- Prepare the ground. Remove sharp branches, rocks, or metal. Place the supplied ground mat in the orientation shown by the manual.
- Position the deflated bag. Keep it flat, untwisted, and centered beneath the approved contact area. Use the supplied protective layer between the bag and vehicle when required.
- Connect the inflation system. Route the hose away from tires, hot surfaces, and pinch points. Use only the specified exhaust cone or compressor adapter.
- Inflate gradually. Watch the bag and vehicle continuously. Stop immediately if the bag walks, folds, contacts a sharp surface, or lifts unevenly.
- Stop at the minimum useful height. Never exceed the product’s pressure, height, capacity, or vehicle-weight limits.
- Complete the recovery step without going underneath. Pack the wheel track or place a traction device while staying outside the fall zone.
- Deflate in control. Keep hands, feet, and equipment clear as the vehicle settles. Disconnect and cool exhaust-related components before packing.
What an inflatable jack must not replace
A recovery bag does not replace approved jack stands. If a task requires any part of your body beneath a lifted vehicle, move the vehicle to a stable work area and follow a conventional floor-jack and stand procedure. Review the floor-jack safety checklist and confirm manufacturer-approved lifting points.
Storage and inspection
After use, clean the bag and mat according to the manual, let them dry completely, and inspect seams, valves, hoses, and contact panels. Store the kit away from fuel, solvents, direct sunlight, sharp tools, and high heat. Replace damaged parts rather than patching a load-bearing product with an improvised material.
Review basis and sources
This guide is based on manufacturer documentation and safety guidance; it does not claim hands-on testing of every inflatable jack.