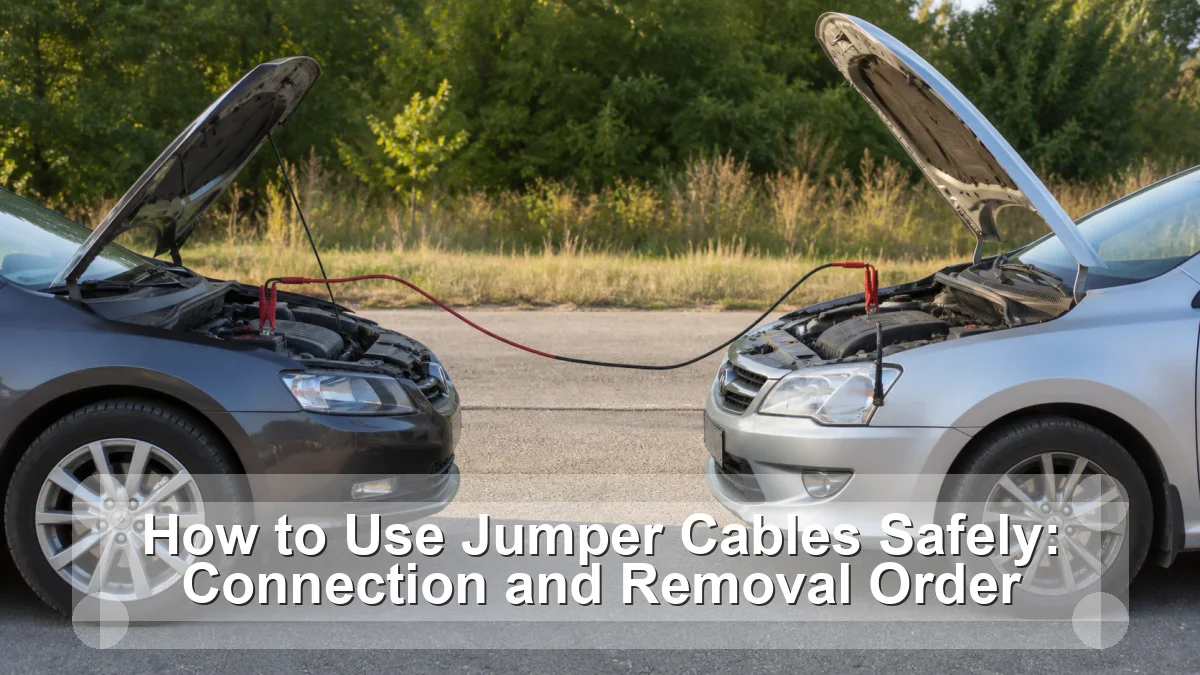
Use the exact jump-start procedure in both vehicles’ owner manuals. For a conventional 12-volt negative-ground setup, the usual order is positive on the disabled vehicle, positive on the donor, negative on the donor, then the final negative connection to the disabled vehicle’s designated ground away from the battery. Removal is normally the reverse order.
This guide is a diagnosis and decision aid for a home-garage owner, not a claim that one symptom proves one failed part. Vehicle design, service limits, warning behavior, and test conditions vary, so the exact owner manual and service information remain the final authority.
Use timing and condition as evidence
The fastest useful move is to describe what changed, when it happens, and what does not happen. The table below is a triage card: it narrows the next check but deliberately avoids turning a clue into a verdict.
| What you notice | What it suggests | Best next move |
|---|---|---|
| Battery case is damaged or frozen | Do not connect cables | Call for professional recovery |
| Manual specifies remote posts | Use those posts only | Battery may be inaccessible or monitored |
| Rapid clicking continues | Connection or available current is poor | Stop and recheck rather than endless cranking |
| Cable becomes hot | Resistance or overload is excessive | Disconnect safely and stop |
| Vehicle starts but warning stays on | Charging fault may remain | Do not assume the battery was the only issue |
Use several matching clues. One reading, one noise, or one dashboard lamp can be affected by temperature, recent service, battery state, road conditions, or the way the vehicle’s control system is designed.
The no-parts-darts diagnostic path
- Read both manuals. Confirm voltage, polarity, approved terminals, donor restrictions, and any hybrid or EV warnings. Never use a high-voltage traction battery or orange cable as a jump point.
- Position and prepare. Park close enough for relaxed cable routing without allowing vehicles to touch. Select Park or Neutral, set parking brakes, turn off lights, climate controls, and ignition, and remove metal jewelry.
- Attach positive first. Clamp one red end to the disabled vehicle’s approved positive post and the other red end to the donor positive post. Keep unused clamps separated.
- Complete the ground side. Attach the black clamp to donor negative, then attach the final black clamp to the disabled vehicle’s designated engine or chassis ground, away from the battery and moving parts.
- Start and disconnect deliberately. Follow the manuals for start order and waiting time. Make short attempts, keep people clear, and remove clamps in reverse sequence without letting them touch.
Write the observations down. A short record of conditions, readings, warning lamps, and recent work is more valuable to a technician than a replacement-part theory. If a test requires bypassing a safety system, opening a pressurized circuit, working near moving parts, or lifting beyond your equipment, stop at the observation stage.
Cable connection/removal sequence card with no-jump conditions
The table and ordered checks above form the article’s working value object. To use it, circle the row that most closely matches the complaint, complete the next check, then revise the hypothesis. A result that contradicts the first guess is progress: it prevents a good component from being replaced and keeps the real fault visible.
Add three lines to the worksheet: conditions (cold, hot, wet, speed, load), evidence (measurement, code, wear, leak, sound), and decision (safe to monitor, book inspection, or stop and tow). That simple structure makes the diagnosis repeatable without pretending every vehicle shares one specification.
Common wrong turns
The tempting shortcut
Guessing polarity from cable color instead of the molded plus and minus marks can destroy electronics. A safe repair plan should explain both the failed condition and the evidence that ruled out its closest look-alikes.
The misleading assumption
Clamping the final lead beside a venting battery puts the connection spark in the wrong place. A safe repair plan should explain both the failed condition and the evidence that ruled out its closest look-alikes.
The incomplete repair
Letting cable loops fall near a fan or belt can pull clamps into moving parts. A safe repair plan should explain both the failed condition and the evidence that ruled out its closest look-alikes.
When to stop
Do not proceed with a battery that is cracked, leaking, swollen, visibly frozen, or giving off a strong sulfur odor. Stop immediately if a cable heats, insulation softens, a clamp arcs continuously, or the starter only grinds. If the disabled vehicle is in traffic or an unsafe location, roadside assistance is the safer plan.
When the decision is “stop,” do not let schedule or convenience turn it back into “drive carefully.” Secure the vehicle away from traffic, use hazard warnings where appropriate, and arrange roadside or workshop help. Safety-critical faults can change faster than a symptom list suggests.
Related guides
- Things You Should Keep in Your Car
- How to Check an Alternator: A Battery-to-Charging-System Test
- Dashboard Lights Not Working?
These links are selected for the next safe decision rather than for keyword repetition. They cover the closest supporting check, tool, or workshop-safety step available before this article’s publication date.
Frequently asked questions
Can any car be the donor vehicle?
No. Confirm compatible voltage and follow both manuals. Some manufacturers restrict using the vehicle as a donor, and hybrids or EVs may have special 12-volt procedures.
Why is the final negative clamp placed away from the battery?
The final connection may spark. The designated remote ground keeps that spark farther from any hydrogen gas that may be near a conventional lead-acid battery.
How long should I keep trying to start it?
Use the vehicle manual. Repeated long cranking overheats cables and the starter; brief failed attempts are a reason to stop and diagnose the no-start.
Sources
- Honda owner manual: manufacturer jump-start precautions and connection sequence
- AAA: charging a car battery safely and choosing a charger
Bottom line: Use the exact jump-start procedure in both vehicles’ owner manuals. For a conventional 12-volt negative-ground setup, the usual order is positive on the disabled vehicle, positive on the donor, negative on the donor, then the final negative connection to the disabled vehicle’s designated ground away from the battery. Removal is normally the reverse order. Use the evidence path, respect the stop conditions, and confirm the exact repair against vehicle-specific information.