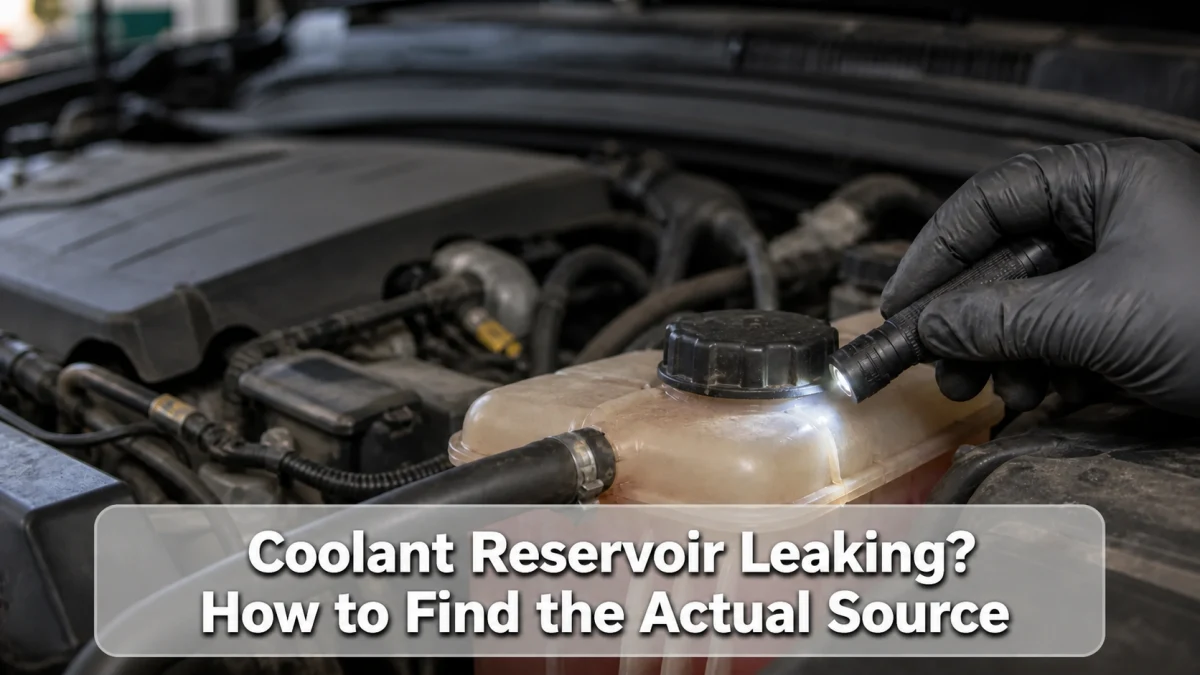
A coolant reservoir that looks wet is not automatically cracked. Coolant can escape from the cap, a hose connection, an overflow path, or a nearby component and then track across the tank. Inspect the system only when fully cold, clean the area, and find the highest fresh wet point before buying parts.
First confirm that the reservoir is the source
Coolant dries into a colored or pale crust, depending on the formulation and contamination. Washer fluid, rainwater, spilled coolant, and condensation can also wet the same area. Dab the fluid with a white towel, note its location and color, and compare the reservoir level only under the cold conditions specified in the owner’s manual. Avoid tasting or directly touching any automotive fluid.
If the level is dropping, use the process in our low-coolant symptom guide to decide whether the vehicle should remain parked.
Reservoir leak-source inspection map
| Highest fresh wet point | What to inspect | What can mislead you |
|---|---|---|
| Around the cap or filler neck | Seal, neck damage, correct cap, and overflow path | Coolant pushed out by overheating or overfilling |
| At a hose nipple | Hose condition, clamp position, and cracked plastic neck | Fluid running down the hose from above |
| Along a molded seam | Hairline split or porous seam | Old spill trapped in the seam |
| On the tank face | Impact rub, heat damage, or stress crack | Spray from a belt or fan carrying fluid from elsewhere |
| Below the tank only | Lower fitting and underside | Radiator, pump, housing, or hose leak tracking under it |
Why a cap-area leak needs diagnosis
On some vehicles the reservoir is part of the pressurized circuit; on others it is an overflow or recovery bottle. Those layouts do not use the same diagnostic assumptions. A damaged seal or neck can leak, but a good cap can also vent if the engine overheats, the tank is overfilled, combustion gas enters the cooling system, or the wrong cap has been installed.
Check the part number and pressure specification against the exact vehicle information. Do not substitute a higher-rated cap to suppress a leak. That may move stress to a hose, radiator, heater core, or plastic fitting.
How to expose a small crack
- With the engine cold, remove loose dirt using a compatible cleaner and a cloth.
- Dry the tank, cap, seam, hose necks, and the shelf beneath it.
- Use a bright light from several angles. Look for a fine stained line or a polished rub mark.
- Place clean absorbent material beneath the suspected area without putting it near belts, pulleys, or fans.
- Run the vehicle only as the manual permits, then shut it down and inspect without opening the system.
- Trace any new wetness upward until the trail ends.
A leak that appears only hot may require a controlled cooling-system pressure test. The correct pressure, adapter, fill condition, and test procedure are vehicle-specific. Excess pressure can damage a sound part, so follow service information or have a qualified shop perform the test.
Common reservoir failures
Cracked plastic or seam
Age, heat cycles, overtightened fasteners, vibration, and contact with another part can fatigue plastic. A crack often reopens as the tank warms. Replacement is usually more dependable than an improvised surface patch because temperature, pressure, and coolant compatibility matter.
Damaged hose neck
A nipple may split below a clamp or break when a hardened hose is disturbed. Inspect both parts. Installing a new tank while reusing a swollen hose or distorted clamp can leave the connection leaking.
Seal, cap, or neck problem
Inspect the sealing surface for chips, distortion, debris, and dried deposits. Confirm that the cap starts and locks normally. Replace only with the specified type, then verify that the underlying system is not forcing coolant out.
Overfill or trapped air after service
Filling above the specified cold mark leaves too little expansion space. An incorrectly bled system may also move coolant unpredictably. Use the exact fill and air-purge procedure for the model; a generic “burp” method can be unsuitable for systems with special valves, vacuum filling, or multiple circuits.
Repair or keep diagnosing?
Replace the reservoir when the cleaned tank itself develops fresh wetness from a crack, seam, or damaged neck. Keep diagnosing when coolant first appears at another component, when the tank repeatedly vents without a visible defect, or when overheating and pressure symptoms remain. After any repair, set the cold level correctly and inspect again through several normal heat cycles.
Coolant is toxic. Catch and dispose of it according to local rules, clean spills promptly, and keep it away from children and animals. If access requires lifting the car, use the approved jacking points and follow the floor-jack safety checklist.
Frequently asked questions
Can I drive with a leaking coolant reservoir?
Not if the engine is overheating, the loss is rapid, steam is visible, or the warning is red. Even a slow leak can introduce air and become worse. Confirm the level cold and arrange the appropriate repair rather than relying on repeated top-ups.
Will stop-leak fix a cracked tank?
A chemical sealer is not a controlled tank repair and may affect small cooling passages or service equipment. Follow manufacturer guidance and replace a confirmed damaged reservoir with the correct part.
Why did a new reservoir start leaking?
Check the cap, hose ends, clamps, mounting alignment, overfill, and whether abnormal temperature or pressure pushed coolant out. Also verify that the wetness truly begins at the new tank.
Sources
- HELLA Tech World: cooling-system checks and fault diagnosis
- Rick’s Free Auto Repair Advice: coolant reservoir leak inspection
Bottom line: clean first, then follow fresh coolant to its highest point. A cracked tank needs the correct replacement, while cap-area venting or fluid arriving from elsewhere calls for more diagnosis.