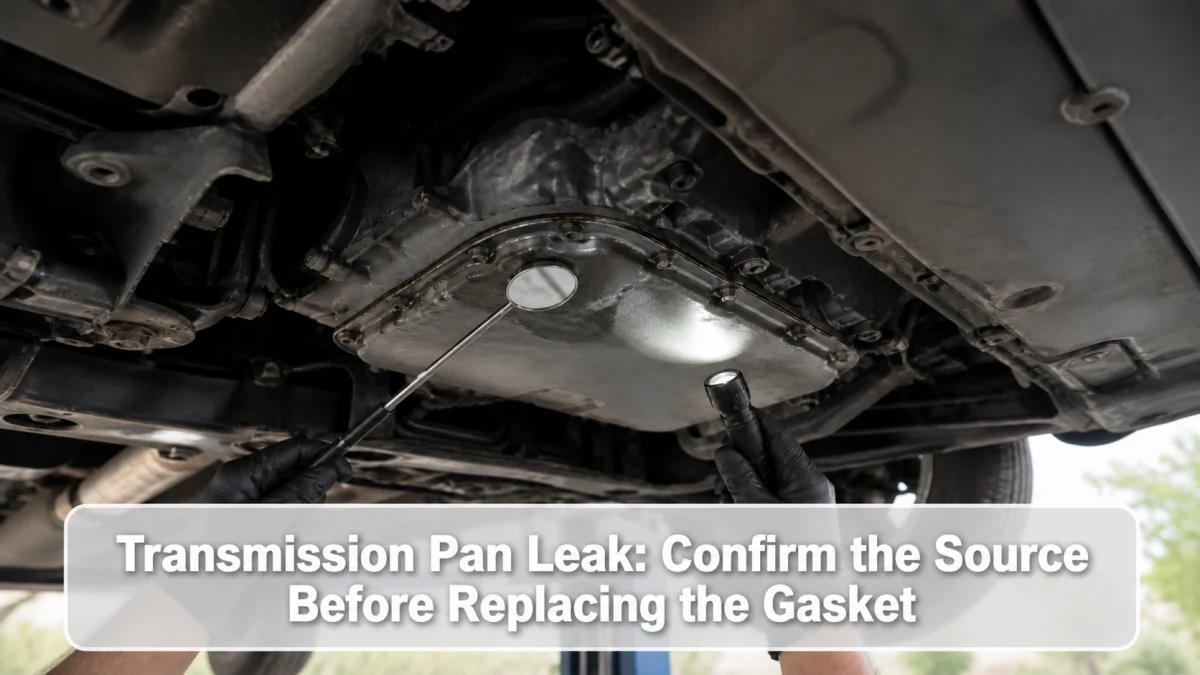
A wet transmission pan does not automatically need a new gasket. Fluid from a cooler line, case connector, axle seal, vent, fill point, side cover, or engine can run down and collect at the pan seam. Confirm the fluid, clean above the pan, and find the first fresh wet point before removing it.
Confirm that the fluid is transmission oil
Engine oil can flow rearward over the transmission, while hydraulic steering fluid, coolant, gear oil, and road contamination can overlap in color. Use white cardboard and the puddle-identification guide. Never taste a fluid or choose replacement oil by color.
Check level only by the exact transmission procedure. Some use a dipstick; others require level ground, engine and selector conditions, and a narrow fluid-temperature window.
Pan seam versus higher-source map
| First fresh wet point | Possible source | Common mistake |
|---|---|---|
| Upper case or bellhousing area | Engine leak, pump/input area, case seam | Replacing the pan gasket below it |
| Electrical connector or side cover | Pass-through seal, cover, pressure switch | Assuming fluid began at the lowest edge |
| Cooler line or fitting | Hose, pipe, crimp, O-ring, heat exchanger | Missing spray carried by airflow |
| Pan rail along one section | Gasket, sealant gap, distortion, corrosion | Tightening bolts without inspecting the rail |
| Drain plug center | Washer, O-ring, thread, plug, pan damage | Calling it a gasket leak |
| Pan face or corner | Impact crack, rust perforation, weld/seam issue | Applying surface sealant over contamination |
Clean-and-recheck method
- Inspect and photograph the full case, lines, vent area, and engine above while cool.
- Clean compatible surfaces from the highest area downward; avoid forcing solvent into connectors or vents.
- Dry completely and place reference marks beside suspected joints.
- Check fluid level and transmission operation before deciding whether a road test is safe.
- Run briefly or drive only as needed, then inspect before the fluid spreads.
- Repeat after shutdown because drain-back and heat soak can expose a different path.
The parked transmission leak guide explains why a puddle may develop hours after the trip. Approved fluorescent dye can help when service information permits it, but incompatible dye or old residue can mislead.
When the gasket or sealant is actually leaking
A gasket can shrink, split, shift, or be pinched. A formed-in-place sealant bead can have a gap, contamination, wrong cure, or incorrect application. Pan rails can distort around bolt holes after overtightening, and rust or impact can damage the pan itself.
Do not tighten bolts in random order to stop seepage. Extra torque can worsen distortion, squeeze out a gasket, strip case threads, or crack a composite pan. Use the model’s sequence and torque only after identifying the sealing design.
Drain-plug and service-related leaks
A reused crush washer, cut O-ring, wrong seal, cross-threaded plug, damaged sealing face, or incorrect torque can leak after service. Fluid spilled during filling may also collect at the lowest edge and drip later. Clean and recheck before assigning blame, but correct an active plug leak promptly.
If wetness began after a refill, confirm that the transmission is not overfilled using the overfill verification matrix. Venting from heat or aeration can coat the case and pan.
Repair planning
Confirm whether the pan contains a replaceable filter, integrated filter, magnets, standpipe, or single-use bolts. Some pans are plastic and include the filter; others require specific sealant with precise bead location and cure time. Obtain capacity, fluid approval, plug seals, torque sequence, and level procedure before draining.
Support the vehicle level on approved lift points. Follow the floor-jack safety checklist, and never work under a vehicle held only by a jack. Keep drain equipment clean and prevent lint or gasket debris from entering the valve body.
After the repair
Refill with the exact approved fluid, set the level at the specified temperature and engine/selector state, and check for leaks before and after a controlled road test. Record the quantity, temperature, seals, filter, and fluid part number. Continued wetness from above means the pan repair did not address the real source.
Photograph the clean pan after verification and note the mileage. That baseline makes any later seep easier to locate before it spreads across the underbody.
Frequently asked questions
Can I seal the pan from the outside?
Surface patches over oily seams are unreliable and can hide the source. Repair the confirmed gasket, pan, plug, or higher leak by the approved method.
Does every pan use a gasket?
No. Some use a molded gasket, some specified sealant, and some an integrated filtered pan. Use the transmission-specific parts information.
How urgent is a small seep?
It should be monitored and repaired because level can fall and leakage can reach hot components. Rapid loss or any change in transmission operation requires stopping and towing.
Sources
- NHTSA service bulletin database: manufacturer leak-diagnosis procedures
- Engineer Fix: transmission pan leak causes and source tracing
Bottom line: the pan is often where fluid ends, not where it begins. Clean above it, catch the first fresh trace, and replace the gasket only when the seam itself is proven to leak.