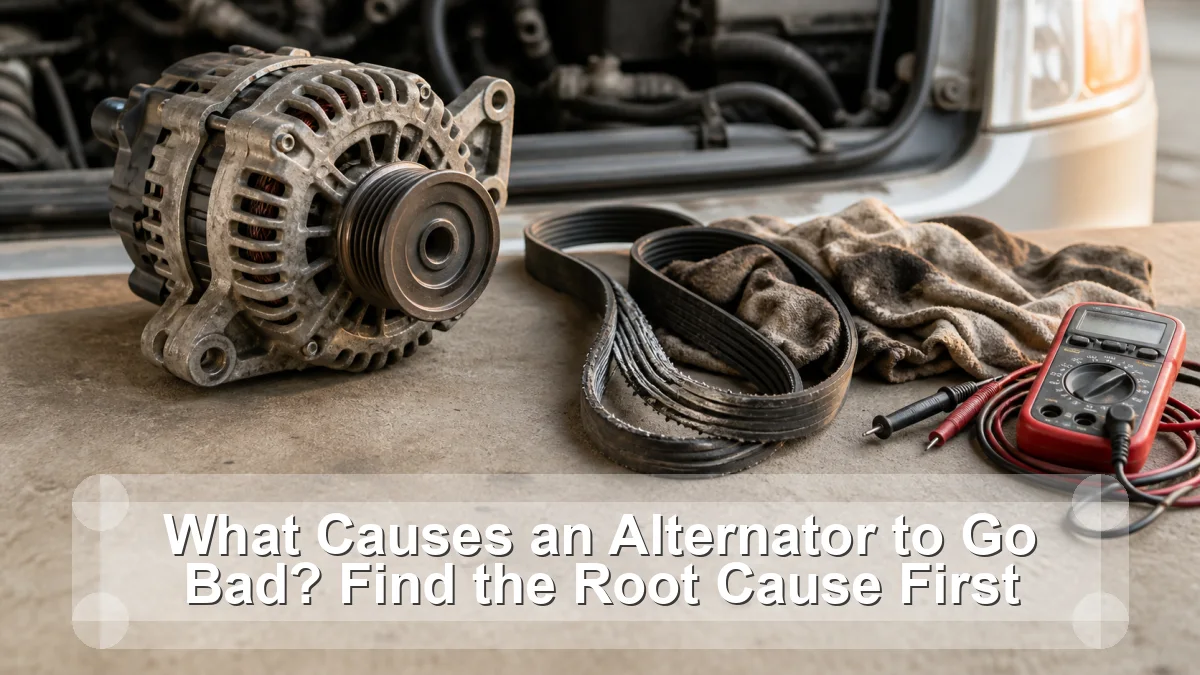
Alternators can fail from ordinary bearing, brush, diode, or regulator wear, but an early or repeated failure deserves a root-cause check. Heat, oil or coolant contamination, an overtight or slipping belt, weak battery, corroded high-current connections, and abnormal electrical demand can shorten life or make a healthy unit appear faulty.
This guide is a diagnosis and decision aid for a home-garage owner, not a claim that one symptom proves one failed part. Vehicle design, service limits, warning behavior, and test conditions vary, so the exact owner manual and service information remain the final authority.
What the clues actually tell you
The fastest useful move is to describe what changed, when it happens, and what does not happen. The table below is a triage card: it narrows the next check but deliberately avoids turning a clue into a verdict.
| What you notice | What it suggests | Best next move |
|---|---|---|
| Grinding or growling changes with rpm | Bearing or pulley drive problem | Confirm accessory-drive source |
| Battery repeatedly undercharged | Low output or high resistance | Battery condition also matters |
| Bulbs fail and voltage runs high | Regulation problem is possible | Stop before electronics are damaged |
| Housing is wet with oil or coolant | Contamination may damage internals | Repair the leak with the alternator |
| Replacement fails quickly | Upstream cause was missed | Audit belt, battery, cable, and load |
Use several matching clues. One reading, one noise, or one dashboard lamp can be affected by temperature, recent service, battery state, road conditions, or the way the vehicle’s control system is designed.
Work through the evidence in this order
- Name the actual failure. Separate bearing noise, no output, low output, overcharge, intermittent output, and a battery-drain complaint. These patterns do not share one cause.
- Inspect the drive. With the engine off, look for belt glazing, cracks, misalignment, a wobbling pulley, seized accessory, weak tensioner, or evidence that the belt has been too tight.
- Look for contamination and heat. Oil and coolant can enter vents or attack insulation. Missing shields, exhaust heat, and packed debris can also raise alternator temperature.
- Test the battery and cables. A sulfated or internally shorted battery can demand excessive current. Corroded posts, grounds, fusible links, and charge cables can create heat and voltage loss.
- Review added electrical loads. Amplifiers, lighting, winches, inverters, and poorly installed accessories may exceed design capacity or create key-off drain. Compare total demand with the vehicle and alternator specification.
Write the observations down. A short record of conditions, readings, warning lamps, and recent work is more valuable to a technician than a replacement-part theory. If a test requires bypassing a safety system, opening a pressurized circuit, working near moving parts, or lifting beyond your equipment, stop at the observation stage.
Early-failure root-cause checklist
The table and ordered checks above form the article’s working value object. To use it, circle the row that most closely matches the complaint, complete the next check, then revise the hypothesis. A result that contradicts the first guess is progress: it prevents a good component from being replaced and keeps the real fault visible.
Add three lines to the worksheet: conditions (cold, hot, wet, speed, load), evidence (measurement, code, wear, leak, sound), and decision (safe to monitor, book inspection, or stop and tow). That simple structure makes the diagnosis repeatable without pretending every vehicle shares one specification.
Common wrong turns
The tempting shortcut
Replacing the alternator without testing a chronically weak battery can set up another failure. A safe repair plan should explain both the failed condition and the evidence that ruled out its closest look-alikes.
The misleading assumption
Spraying cleaners through alternator vents can remove lubrication or damage insulation. A safe repair plan should explain both the failed condition and the evidence that ruled out its closest look-alikes.
The incomplete repair
Assuming every front-engine whine comes from the alternator ignores idlers, pumps, compressors, and belt tensioners. A safe repair plan should explain both the failed condition and the evidence that ruled out its closest look-alikes.
When to stop
Shut down for smoke, a hot electrical smell, glowing or melted wiring, severe pulley wobble, a shredded belt, or overvoltage warnings. An accessory belt may also drive the water pump on some engines, so belt failure can become an overheating problem within minutes. Do not reach into the accessory drive while it is moving.
When the decision is “stop,” do not let schedule or convenience turn it back into “drive carefully.” Secure the vehicle away from traffic, use hazard warnings where appropriate, and arrange roadside or workshop help. Safety-critical faults can change faster than a symptom list suggests.
Related guides
- How to Check an Alternator: A Battery-to-Charging-System Test
- Check Engine Light After an Oil Change?
- Bad Intake Manifold Gasket Symptoms
These links are selected for the next safe decision rather than for keyword repetition. They cover the closest supporting check, tool, or workshop-safety step available before this article’s publication date.
Frequently asked questions
Can a bad battery ruin an alternator?
A deeply discharged, internally damaged, or wrong-capacity battery can keep current demand high and increase alternator heat. It is one possible contributor, not proof of the failure cause.
Does oil on an alternator matter?
Yes. Oil or coolant contamination can damage electrical insulation, brushes, bearings, and the belt. Repair the leak rather than installing a clean unit into the same wet environment.
Why would a new alternator fail?
Possibilities include a poor-quality or incorrect unit, missed belt or pulley trouble, cable resistance, a bad battery, excessive load, contamination, or a control-system fault.
Sources
- HELLA Tech World: starting-system diagnosis and starter checks
- Fluke: measuring automotive battery voltage with a multimeter
Bottom line: Alternators can fail from ordinary bearing, brush, diode, or regulator wear, but an early or repeated failure deserves a root-cause check. Heat, oil or coolant contamination, an overtight or slipping belt, weak battery, corroded high-current connections, and abnormal electrical demand can shorten life or make a healthy unit appear faulty. Use the evidence path, respect the stop conditions, and confirm the exact repair against vehicle-specific information.