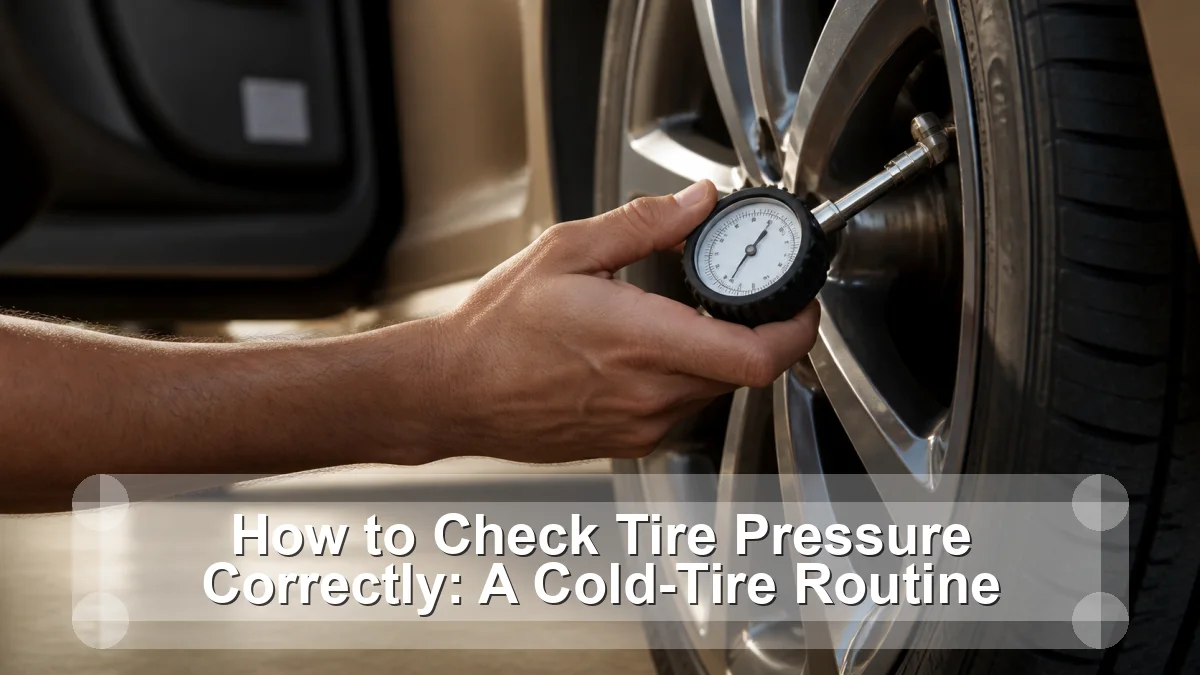
Check pressure when the tires are cold—before driving or after the vehicle has sat for at least three hours—and compare each reading with the driver-door placard or owner manual. The molded pressure on the tire sidewall is not the vehicle’s recommended inflation target.
This guide is a diagnosis and decision aid for a home-garage owner, not a claim that one symptom proves one failed part. Vehicle design, service limits, warning behavior, and test conditions vary, so the exact owner manual and service information remain the final authority.
Use timing and condition as evidence
The fastest useful move is to describe what changed, when it happens, and what does not happen. The table below is a triage card: it narrows the next check but deliberately avoids turning a clue into a verdict.
| What you notice | What it suggests | Best next move |
|---|---|---|
| All tires read similarly low after cold weather | Temperature change may contribute | Adjust to cold placard pressure |
| One tire is much lower | Leak is likely | Inspect valve, tread, bead, and wheel |
| Front and rear targets differ | Use each axle value | Do not make them equal automatically |
| Warm reading is above placard | Heat raises pressure normally | Do not bleed to cold target |
| Gauge readings disagree | Tool or sealing problem | Repeat with a trusted gauge |
Use several matching clues. One reading, one noise, or one dashboard lamp can be affected by temperature, recent service, battery state, road conditions, or the way the vehicle’s control system is designed.
The no-parts-darts diagnostic path
- Read the placard. Use the driver-door edge or post and owner manual. Note load conditions, front-rear differences, and spare-tire instructions.
- Wait for cold conditions. Measure before the day’s drive or after at least three hours parked. A short, slow trip may still warm tires enough to affect precision.
- Seat the gauge. Remove the cap, press the gauge squarely until hissing stops, read it, and repeat once if the connection was not clean.
- Compare and correct. Add the missing pressure or release small amounts, then measure again. Use the cold placard value rather than visual appearance.
- Track unexplained loss. Replace caps and record readings. A tire that drops again needs a leak inspection, not endless topping up.
Write the observations down. A short record of conditions, readings, warning lamps, and recent work is more valuable to a technician than a replacement-part theory. If a test requires bypassing a safety system, opening a pressurized circuit, working near moving parts, or lifting beyond your equipment, stop at the observation stage.
Cold-pressure measurement and correction worksheet
The table and ordered checks above form the article’s working value object. To use it, circle the row that most closely matches the complaint, complete the next check, then revise the hypothesis. A result that contradicts the first guess is progress: it prevents a good component from being replaced and keeps the real fault visible.
Add three lines to the worksheet: conditions (cold, hot, wet, speed, load), evidence (measurement, code, wear, leak, sound), and decision (safe to monitor, book inspection, or stop and tow). That simple structure makes the diagnosis repeatable without pretending every vehicle shares one specification.
Common wrong turns
The tempting shortcut
Using the sidewall maximum as the target can overinflate the tire for the vehicle. A safe repair plan should explain both the failed condition and the evidence that ruled out its closest look-alikes.
The misleading assumption
Bleeding a warm tire down to the cold placard can leave it underinflated after cooling. A safe repair plan should explain both the failed condition and the evidence that ruled out its closest look-alikes.
The incomplete repair
Relying only on TPMS misses gradual loss before the warning threshold. A safe repair plan should explain both the failed condition and the evidence that ruled out its closest look-alikes.
When to stop
Do not inflate a tire with a bulge, exposed cord, severe cracking, wheel damage, or evidence it was driven flat. Stand to the side while adding air, keep hands and face away from the sidewall, and use professional service for damaged or high-pressure specialty assemblies.
When the decision is “stop,” do not let schedule or convenience turn it back into “drive carefully.” Secure the vehicle away from traffic, use hazard warnings where appropriate, and arrange roadside or workshop help. Safety-critical faults can change faster than a symptom list suggests.
Related guides
- How Often Should You Replace Your Tires? Tread, Age, and Damage
- Best Tire Pressure Gauges
- Things You Should Keep in Your Car
These links are selected for the next safe decision rather than for keyword repetition. They cover the closest supporting check, tool, or workshop-safety step available before this article’s publication date.
Frequently asked questions
How cold is a cold tire?
NHTSA describes cold as not driven for at least three hours. Use the vehicle manual if it gives more specific conditions.
Why is the sidewall number higher?
It identifies a tire limit associated with load, not the tuned cold pressure the vehicle manufacturer specifies for that car.
How often should pressure be checked?
NHTSA recommends monthly checks and before long trips; temperature changes or a known slow leak justify more frequent checks.
Sources
- NHTSA TireWise: pressure, tread, aging, damage, and TPMS guidance
- NHTSA: cold-pressure, tread, age, and road-trip tire checks
Bottom line: Check pressure when the tires are cold—before driving or after the vehicle has sat for at least three hours—and compare each reading with the driver-door placard or owner manual. The molded pressure on the tire sidewall is not the vehicle’s recommended inflation target. Use the evidence path, respect the stop conditions, and confirm the exact repair against vehicle-specific information.