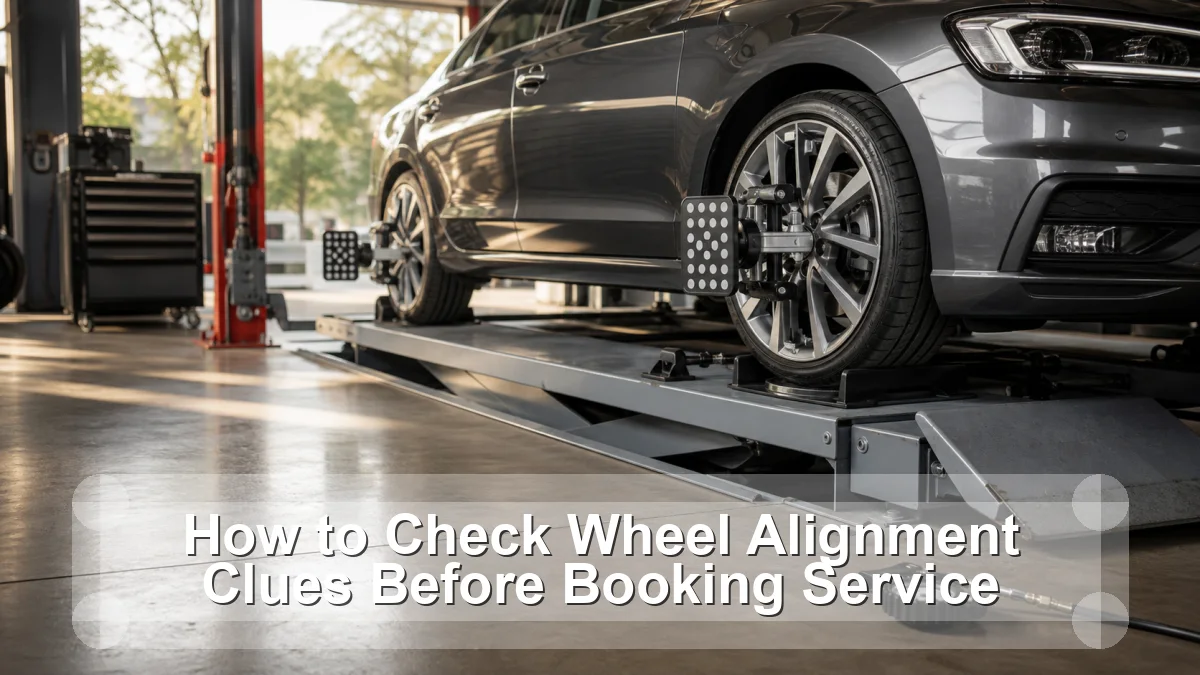
You can spot alignment clues—uneven or feathered tread, off-center steering wheel, repeatable pull on a level road, and recent impact—but a proper alignment check requires calibrated equipment and a pre-inspection for loose or damaged steering and suspension parts. Tire pressure, tire conicity, road crown, and brake drag can mimic misalignment.
This guide is a diagnosis and decision aid for a home-garage owner, not a claim that one symptom proves one failed part. Vehicle design, service limits, warning behavior, and test conditions vary, so the exact owner manual and service information remain the final authority.
What the clues actually tell you
The fastest useful move is to describe what changed, when it happens, and what does not happen. The table below is a triage card: it narrows the next check but deliberately avoids turning a clue into a verdict.
| What you notice | What it suggests | Best next move |
|---|---|---|
| Steering wheel is off-center but car tracks straight | Toe or steering-center setup may be off | Check recent alignment work |
| Pull changes on another road | Road crown may contribute | Repeat safely on level pavement |
| Pull changes after tire rotation | Tire force becomes likely | Alignment alone may not fix it |
| One wheel runs hot | Brake drag or bearing issue | Inspect before alignment |
| Feathered tread edges | Toe error is possible | Loose parts must be checked first |
Use several matching clues. One reading, one noise, or one dashboard lamp can be affected by temperature, recent service, battery state, road conditions, or the way the vehicle’s control system is designed.
Work through the evidence in this order
- Normalize tire conditions. Set cold pressure, verify matching sizes and obvious damage, and check whether a recent rotation or replacement changed the complaint.
- Map tread wear. Measure inner, center, and outer tread. Feathering, one-edge wear, cupping, and center wear point toward different combinations of alignment, pressure, balance, and suspension.
- Observe on a suitable road. On level, safe pavement, note a repeatable pull and steering-wheel position without loosening your grip or making an unsafe hands-off test.
- Inspect the chassis first. A shop should check tie rods, ball joints, bushings, wheel bearings, springs, ride height, damage, and brake drag before adjusting angles.
- Read the printout. Compare camber, caster, toe, thrust angle, and manufacturer tolerances before and after. Ask why an angle is not adjustable or remains out of range.
Write the observations down. A short record of conditions, readings, warning lamps, and recent work is more valuable to a technician than a replacement-part theory. If a test requires bypassing a safety system, opening a pressurized circuit, working near moving parts, or lifting beyond your equipment, stop at the observation stage.
Pull-wear-steering alignment precheck card
The table and ordered checks above form the article’s working value object. To use it, circle the row that most closely matches the complaint, complete the next check, then revise the hypothesis. A result that contradicts the first guess is progress: it prevents a good component from being replaced and keeps the real fault visible.
Add three lines to the worksheet: conditions (cold, hot, wet, speed, load), evidence (measurement, code, wear, leak, sound), and decision (safe to monitor, book inspection, or stop and tow). That simple structure makes the diagnosis repeatable without pretending every vehicle shares one specification.
Common wrong turns
The tempting shortcut
A string or tape driveway check cannot replace calibrated four-wheel measurements on many vehicles. A safe repair plan should explain both the failed condition and the evidence that ruled out its closest look-alikes.
The misleading assumption
Aligning around a loose ball joint or bent part only hides the actual fault temporarily. A safe repair plan should explain both the failed condition and the evidence that ruled out its closest look-alikes.
The incomplete repair
Assuming every pull is alignment ignores tire force, pressure, road crown, and braking. A safe repair plan should explain both the failed condition and the evidence that ruled out its closest look-alikes.
When to stop
Do not road-test a vehicle with a bulged tire, loose steering, clunk accompanied by wheel movement, severe pull, recent collision damage, or a wheel that overheats. Arrange inspection before an alignment appointment if control feels uncertain.
When the decision is “stop,” do not let schedule or convenience turn it back into “drive carefully.” Secure the vehicle away from traffic, use hazard warnings where appropriate, and arrange roadside or workshop help. Safety-critical faults can change faster than a symptom list suggests.
Related guides
- How to Check Tire Pressure Correctly: A Cold-Tire Routine
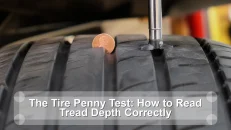
- The Tire Penny Test: How to Read Tread Depth Correctly
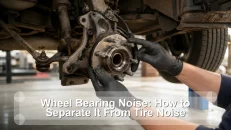
- Wheel Bearing Noise: How to Separate It From Tire Noise
These links are selected for the next safe decision rather than for keyword repetition. They cover the closest supporting check, tool, or workshop-safety step available before this article’s publication date.
Frequently asked questions
Can alignment cause vibration?
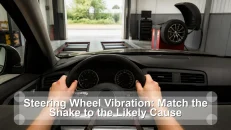
Misalignment mainly causes pull and wear. Imbalance, tire or wheel runout, brake pulsation, and loose parts are more common vibration sources, though faults can coexist.
Will an alignment fix worn tires?
No. It can correct an angle that caused wear, but it cannot restore rubber already worn into a pattern.
Do I need four-wheel alignment?
Most modern checks measure all four wheels even when only some angles are adjustable, because rear thrust angle affects steering-center and tracking.
Sources
- NHTSA TireWise: pressure, tread, aging, damage, and TPMS guidance
- NHTSA-hosted tire-wear diagnostic chart
Bottom line: You can spot alignment clues—uneven or feathered tread, off-center steering wheel, repeatable pull on a level road, and recent impact—but a proper alignment check requires calibrated equipment and a pre-inspection for loose or damaged steering and suspension parts. Tire pressure, tire conicity, road crown, and brake drag can mimic misalignment. Use the evidence path, respect the stop conditions, and confirm the exact repair against vehicle-specific information.