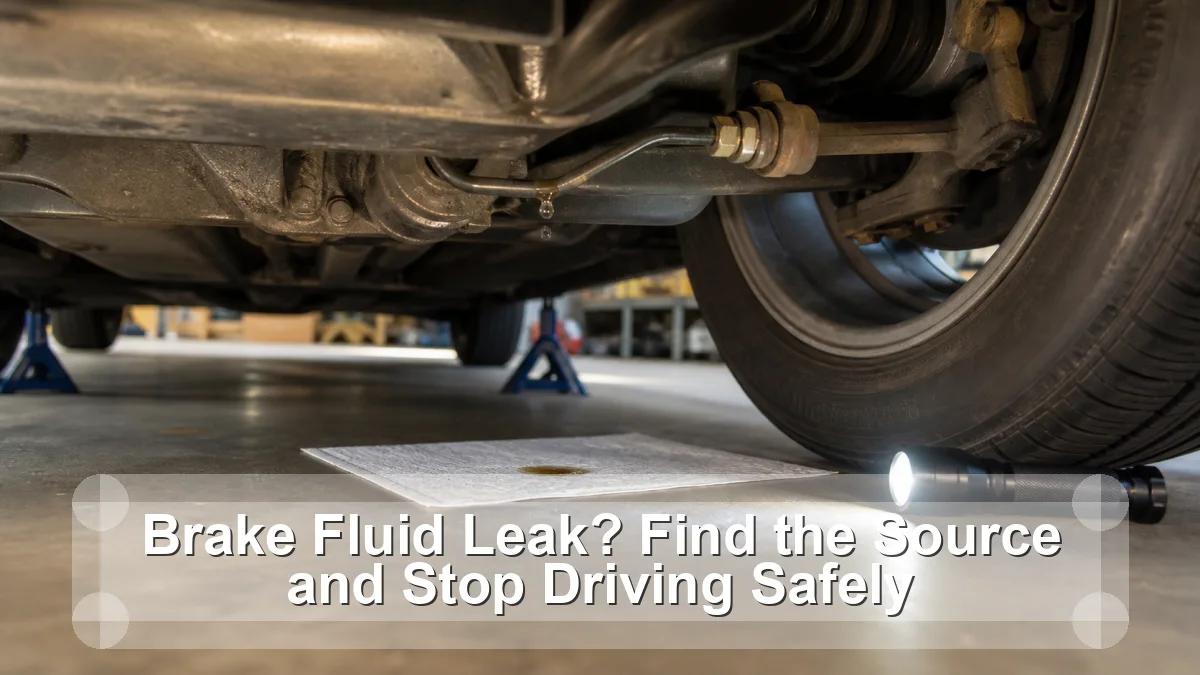
A confirmed brake-fluid leak makes the vehicle unsafe to drive because hydraulic pressure can fall without warning. Park on level ground, avoid pressing the pedal repeatedly, identify the highest wet point only from a safe position, protect painted surfaces, and arrange towing for inspection and repair.
This guide is a diagnosis and decision aid for a home-garage owner, not a claim that one symptom proves one failed part. Vehicle design, service limits, warning behavior, and test conditions vary, so the exact owner manual and service information remain the final authority.
Use timing and condition as evidence
The fastest useful move is to describe what changed, when it happens, and what does not happen. The table below is a triage card: it narrows the next check but deliberately avoids turning a clue into a verdict.
| What you notice | What it suggests | Best next move |
|---|---|---|
| Wet inside of wheel | Caliper, wheel cylinder, hose, or fitting | Brake assembly inspection |
| Wet steel line under body | Corrosion or impact damage | Replace affected line correctly |
| Fluid at firewall or booster | Master-cylinder leak possible | Inspect inside and outside |
| Reservoir drops with no exterior puddle | Internal or hidden leak | Professional pressure diagnosis |
| Pedal sinks while held | Hydraulic bypass or leak | Do not road-test |
Use several matching clues. One reading, one noise, or one dashboard lamp can be affected by temperature, recent service, battery state, road conditions, or the way the vehicle’s control system is designed.
The no-parts-darts diagnostic path
- Make the stop decision. If the pedal is soft, sinking, warning lamp is red, or fluid is visible, do not drive to “see if it clears.” Arrange a tow.
- Confirm the fluid carefully. Brake fluid is commonly clear to amber and slippery, but appearance alone is not proof. Do not taste fluids; clean paint contact promptly per product guidance.
- Trace from the highest point. Fluid runs down and blows rearward. Inspect reservoir, master cylinder, ABS unit, unions, lines, hoses, calipers, and wheel cylinders without going under unsupported vehicles.
- Find the reason. Corrosion, chafing, impact, loose or damaged fittings, failed seals, overheated components, and incorrect prior work change the repair scope.
- Verify the complete repair. The correct line or component, approved flare and fittings, specified fluid, bleeding sequence, scan-tool ABS bleed where required, leak check, and brake performance verification all matter.
Write the observations down. A short record of conditions, readings, warning lamps, and recent work is more valuable to a technician than a replacement-part theory. If a test requires bypassing a safety system, opening a pressurized circuit, working near moving parts, or lifting beyond your equipment, stop at the observation stage.
Leak-location and pedal-symptom urgency map
The table and ordered checks above form the article’s working value object. To use it, circle the row that most closely matches the complaint, complete the next check, then revise the hypothesis. A result that contradicts the first guess is progress: it prevents a good component from being replaced and keeps the real fault visible.
Add three lines to the worksheet: conditions (cold, hot, wet, speed, load), evidence (measurement, code, wear, leak, sound), and decision (safe to monitor, book inspection, or stop and tow). That simple structure makes the diagnosis repeatable without pretending every vehicle shares one specification.
Common wrong turns
The tempting shortcut
Brake-system stop-leak can contaminate seals and does not create a safe hydraulic repair. A safe repair plan should explain both the failed condition and the evidence that ruled out its closest look-alikes.
The misleading assumption
A compression fitting or casual tubing patch is not an acceptable substitute for approved brake line and flare procedures. A safe repair plan should explain both the failed condition and the evidence that ruled out its closest look-alikes.
The incomplete repair
Refilling the reservoir without fixing the leak only postpones pressure loss. A safe repair plan should explain both the failed condition and the evidence that ruled out its closest look-alikes.
When to stop
Do not drive with a sinking pedal, red brake warning, visible hydraulic leak, empty reservoir, wheel soaked in fluid, or reduced stopping ability. Keep brake fluid away from eyes and paint, use wheel chocks on level ground, and never crawl beneath a car held only by a jack.
When the decision is “stop,” do not let schedule or convenience turn it back into “drive carefully.” Secure the vehicle away from traffic, use hazard warnings where appropriate, and arrange roadside or workshop help. Safety-critical faults can change faster than a symptom list suggests.
Related guides
- Floor Jack Safety Checklist
- How to Find Your Car’s Jacking Points
- Things You Should Keep in Your Car
These links are selected for the next safe decision rather than for keyword repetition. They cover the closest supporting check, tool, or workshop-safety step available before this article’s publication date.
Frequently asked questions
Can I top up brake fluid and drive to a shop?
No confirmed leak is made safe by topping up. Fluid can escape faster on the next brake application; towing is the prudent choice.
Is brake fluid the same as brake oil?
“Brake oil” is a common search phrase, but road vehicles generally use manufacturer-specified hydraulic brake fluid. Use only the exact type listed for the vehicle.
Can a leak be internal with no puddle?
Yes. A master cylinder can bypass internally or leak into a booster, and some leaks remain hidden inside drum brakes.
Sources
- California Bureau of Automotive Repair: brake inspection and diagnosis handbook
- NHTSA brake-system warning and fluid-level test requirements
Bottom line: A confirmed brake-fluid leak makes the vehicle unsafe to drive because hydraulic pressure can fall without warning. Park on level ground, avoid pressing the pedal repeatedly, identify the highest wet point only from a safe position, protect painted surfaces, and arrange towing for inspection and repair. Use the evidence path, respect the stop conditions, and confirm the exact repair against vehicle-specific information.