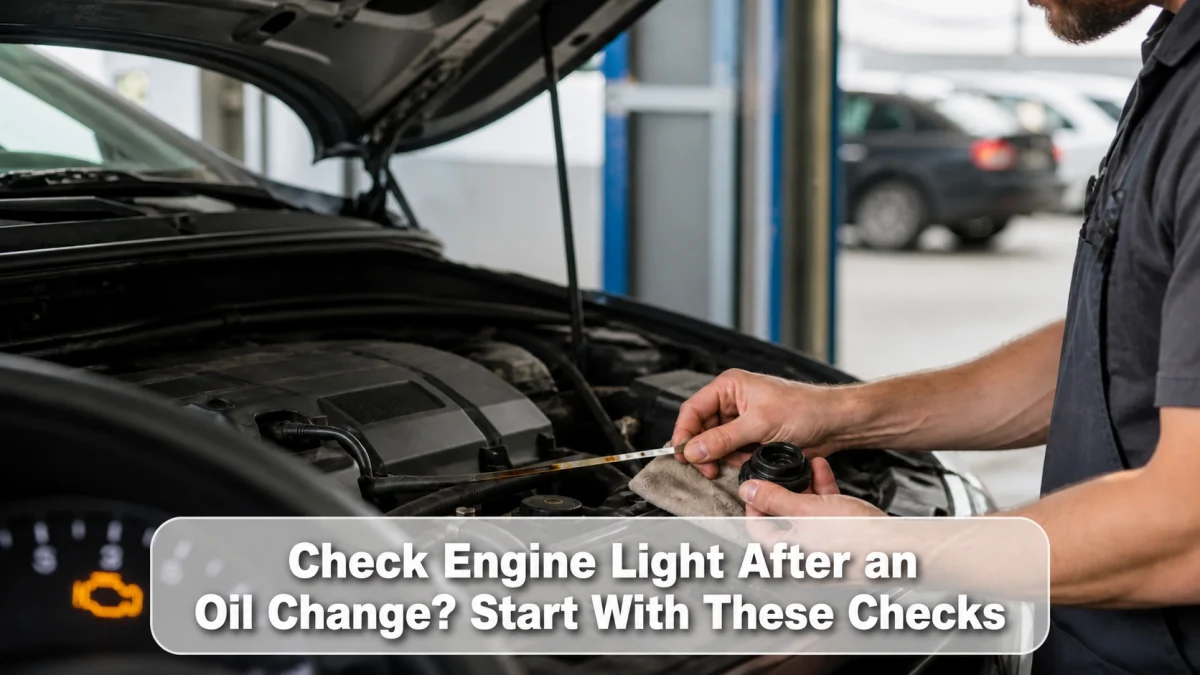
A check engine light after an oil change may be related to something disturbed during service, but timing alone does not prove causation. First distinguish the malfunction indicator from the oil-pressure warning and maintenance reminder. Then verify oil level, leakage, the filler cap, dipstick, intake connections, and the actual diagnostic code.
Identify the light first
The check engine or malfunction indicator usually resembles an engine outline and relates to monitored engine or emissions systems. An oil-pressure warning often resembles an oil can and can indicate loss of lubrication pressure. A maintenance reminder such as “oil life” or “service due” is a schedule notice, not proof of low oil pressure or an engine fault.
Consult the owner’s manual for color, flashing behavior, and required action. Do not continue running an engine with an oil-pressure warning to see whether it clears.
Cause-by-timing checklist
| When it appeared | What to check | What it does not prove |
|---|---|---|
| Immediately at startup | Oil-pressure light behavior, level, filter and drain area, disconnected sensor or intake plug | That the new oil itself is defective |
| After a few miles | Fresh leaks, loose filler cap, intake hose, code and freeze-frame | That the oil change caused the code |
| After refueling near the service visit | Fuel cap or refueling-related evaporative issue where applicable | That service was involved |
| Days later | Full code-based diagnosis and service-area recheck | That timing rules out a service mistake |
| Maintenance reminder stayed on | Reset procedure and service record | That a mechanical fault exists |
Check oil level and leakage safely
- Park on level ground, shut down, and follow the manual’s wait and temperature conditions.
- Remove, wipe, reinsert, and read the dipstick as specified, or use the approved electronic-level process.
- Do not add oil until the reading is valid. Overfill and underfill can both cause problems.
- Inspect the filler cap, dipstick, filter housing or spin-on filter, drain plug, and ground beneath the car.
- Stop running the engine if oil is actively escaping or abnormal mechanical noise is present.
A splash or old residue is different from a fresh leak. Clean the area and find the highest new wet point. Do not crawl under a car supported only by a jack; use the safe lifting checklist.
Items that may be disturbed during service
Accessing some filters requires moving an air-intake duct, engine cover, wiring clip, vacuum line, or sensor connector. A loose mass-airflow connector, intake clamp, breather hose, or vacuum line can set a code or create rough running. An oil filler cap left loose can admit unmetered air on some layouts and spread oil.
Inspect only what was plausibly accessed, using the repair information. Do not unplug connectors with the ignition on or force a hose into place. Photographs from before and after service are useful when available.
Why reading the code matters
An OBD-II code identifies a circuit or monitored condition, not automatically the failed part. Record stored, pending, and permanent codes plus freeze-frame data. A basic reader may not show manufacturer-specific or body codes, but it can preserve information before the light is cleared.
For example, a lean code after an intake duct was loosened points the inspection in one direction, while an evaporative code after refueling points elsewhere. A misfire code with a flashing light requires reduced load and prompt diagnosis because continued driving can overheat the catalytic converter.
Coincidental faults happen
Sensors, ignition parts, fuel systems, emissions controls, batteries, and wiring can fail around the same time as routine service. The fair way to separate coincidence from service involvement is evidence: exact code, freeze-frame, visual inspection, oil level, leak location, parts moved, and timeline.
When to return to the shop
Contact the service provider promptly if the light appeared immediately, oil level is incorrect, a fresh leak exists, a connector or hose is loose, or the maintenance reminder was not reset. Provide photos and codes without clearing them. A reputable shop can check its work and explain whether further unrelated diagnosis is needed.
If you service the vehicle yourself, the oil-change tool checklist helps prevent missing caps, washers, measurement tools, and safe support equipment.
Frequently asked questions
Can the wrong oil trigger the check engine light?
Incorrect viscosity, level, or approval can affect systems on some engines, but the code and manufacturer diagnostic procedure must establish the connection. Correct the service facts before replacing sensors.
Can I clear the light by disconnecting the battery?
That can erase useful data, reset learned values, and create other setup needs. Record codes and freeze-frame first, then clear only after diagnosis or as the repair procedure directs.
Why is the oil-change reminder still on?
The service reset may have been missed or performed incorrectly. Use the model-specific reset procedure and keep the actual mileage and date in your record.
Sources
- Honda owner’s manual: warning and indicator interpretation example
- Engineer Fix: post-oil-change check engine light causes
Bottom line: protect the engine first, preserve the code data, and inspect what the service actually touched. A light that follows an oil change deserves a prompt check, not an automatic assumption.
Prevent avoidable oil-change errors
Before draining, use the oil-change tools checklist to verify the exact oil, filter, seal, torque value, lifting/support equipment, drain capacity, level-check process, and recycling container for the vehicle.