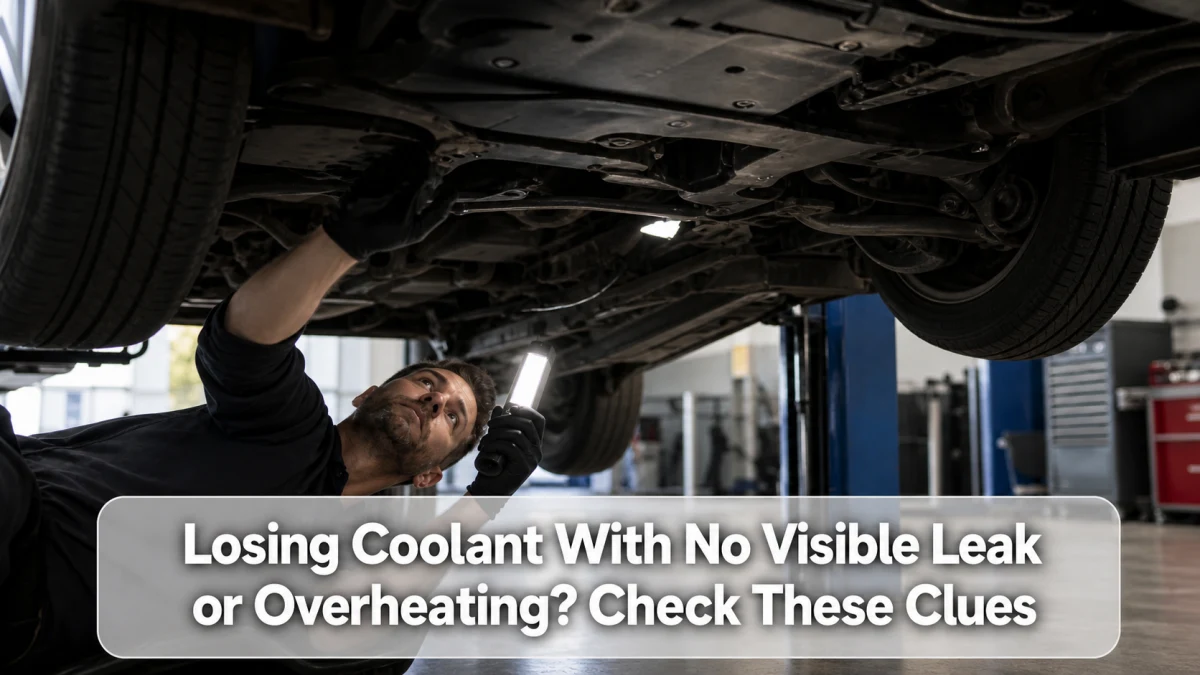
Coolant can disappear without leaving a driveway puddle when it leaks only under heat and pressure, lands on a hot surface and evaporates, collects inside the cabin, or enters another system. First prove that the cold level is genuinely falling, then inspect in an order that separates external, cabin, and internal loss.
Confirm that coolant is actually being lost
Reservoir level changes as coolant heats and cools. Park in the same level place and compare readings only with the engine fully cold, following the owner’s manual. Photograph the level against the molded marks. If service was just performed, one small change can occur as remaining air moves, but repeated decline calls for diagnosis.
Use the low-coolant guide to rank the urgency. Never open a hot cap in an effort to verify the level.
Where coolant hides
| Hidden-loss path | Clues | Best confirmation direction |
|---|---|---|
| Heat- or pressure-only external leak | Dried crust, odor after driving, stain on a shield | Cold inspection followed by controlled pressure test |
| Leak onto hot exhaust or engine | Sweet odor, faint vapor, no puddle | Trace residue after full cooldown |
| Heater core or HVAC case | Window film, damp carpet, odor, drain discharge | Cabin inspection and cooling-system test |
| Combustion chamber | Persistent warm-engine white exhaust, startup misfire, unusual pressure | Combustion-gas, pressure, leak-down, and plug inspection |
| Oil circuit | Abnormal oil appearance or rising oil level | Oil inspection and model-specific component testing |
| Transmission or cooler circuit | Cross-contaminated fluid on applicable designs | Cooling and transmission circuit isolation |
| Overflow or reservoir venting | Residue near cap or outlet after a hot drive | Inspect cap, fill level, temperature, and system pressure cause |
Start with a cold visual inspection
Use a bright light to examine the reservoir, cap, hose joints, radiator seams, thermostat housing, coolant outlet flanges, water-pump region, heater hoses, turbo or EGR-cooler lines where fitted, and any coolant pipes. Look from above and below. A splash shield can hold a surprising amount of fluid, while airflow can carry the evidence far behind the source.
Clean old residue, let the area dry, and recheck after a normal heat cycle. Follow fresh staining upward. The reservoir leak-source map explains how cap and hose leaks can masquerade as a cracked tank.
Check the cabin without overlooking rainwater
A leaking heater core can wet carpet or insulation, create a sweet odor, and leave a film on the windshield. Air-conditioning condensation and rainwater leaks can also make carpet wet, so confirm the fluid and trace its entry path. The symptoms and distinctions are covered in our heater-core leak guide.
Why no overheating does not clear the system
A small leak may remain below the system’s reserve capacity for a while. The gauge can also be damped, sensor-dependent, or positioned where it does not immediately reflect a low-fluid hot spot. Waiting for an overheat risks turning an affordable hose, seal, or tank repair into major engine damage.
Conversely, coolant loss does not automatically prove a head-gasket failure. External leaks are common, and several test results must be interpreted together.
Tests a repair shop may use
Cooling-system pressure test
The technician applies the model-specified pressure with a compatible adapter while watching for pressure decay and leakage. Some faults appear cold; others require additional temperature-dependent checks. Exceeding the specification can create damage.
Cap test
A cap that seals or vents incorrectly can change coolant recovery and loss. It should be tested or replaced only with the specified type, not a cap chosen by appearance.
UV dye or trace inspection
A compatible dye may reveal a small external leak. Existing fluorescent residue, oil dye, and cleaning products can confuse the result, so the system should be documented and cleaned first.
Combustion-gas and cylinder tests
A chemical gas test, scan data, spark-plug comparison, cooling-system behavior, compression, or leak-down testing may help assess an internal engine leak. No single generic result should override the vehicle’s test procedure.
Component isolation
On vehicles with coolant-fed intake, turbocharger, EGR, battery, oil-cooler, or transmission-cooler circuits, a shop may isolate or test a component according to manufacturer instructions. Configuration matters; not every vehicle has these paths.
Avoid these shortcuts
- Do not keep adding coolant without recording the amount and rate of loss.
- Do not use coolant color alone to choose a formula.
- Do not pour in sealer as a substitute for locating the failure.
- Do not declare a head gasket bad from white exhaust seen only on a cold, humid startup.
- Do not crawl under a vehicle supported only by a jack.
If an underbody inspection is required, work on a firm level surface, identify approved lift points, use rated stands, and apply the lifting safety checklist.
Frequently asked questions
Can coolant evaporate from a sealed system?
A sound sealed system should not need routine replenishment. Coolant that escapes as vapor from a tiny hot leak may leave little liquid evidence, but that is still a fault to locate.
Could the water pump leak only while driving?
Yes. Some pump seals leak intermittently with temperature, speed, or pressure, and shields can hide the evidence. Inspect the pump area using the model’s service information.
Should I keep driving if the temperature stays normal?
Continued unexplained loss can suddenly become severe or introduce air. Arrange diagnosis promptly, and stop immediately if the temperature rises, steam appears, heat output changes abruptly, or the warning returns.
Sources
Bottom line: “no puddle” only means the loss is not obvious. Verify a consistent cold-level trend, look for external and cabin evidence, and use controlled tests before concluding that coolant is entering the engine.