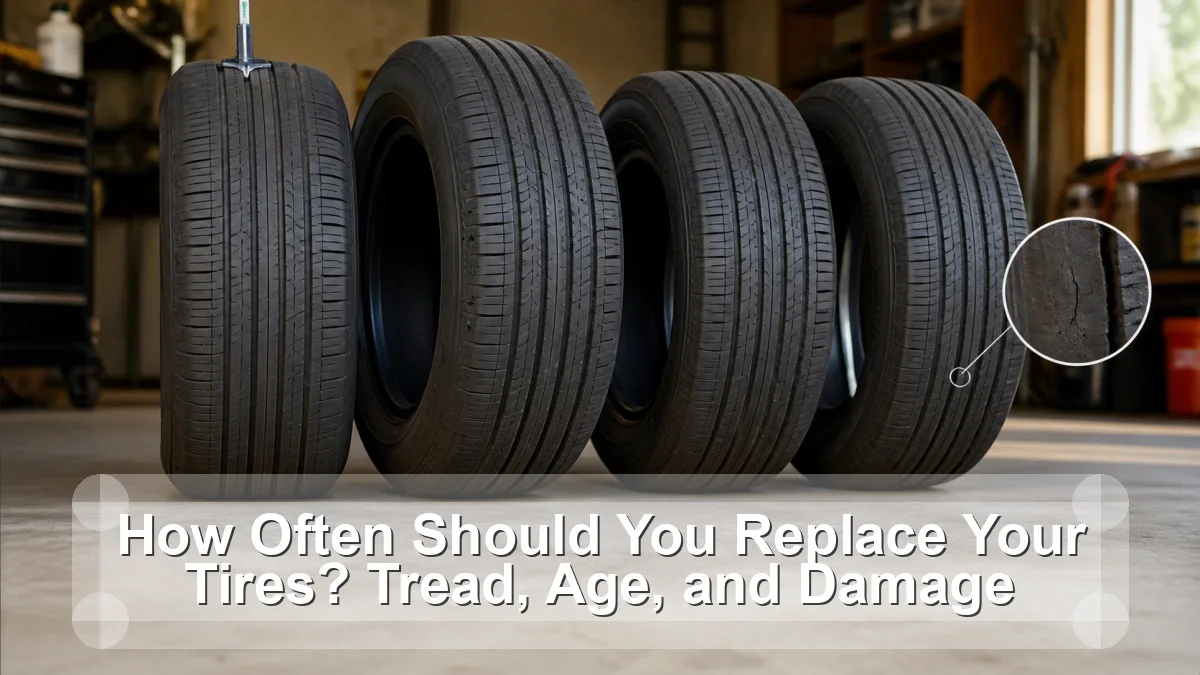
Replace a tire when tread reaches its legal or safe wear limit, when there is nonrepairable damage or exposed structure, when it will not hold pressure, or when age and condition exceed the vehicle or tire maker’s limit. There is no single mileage or calendar rule that overrides an inspection.
This guide is a diagnosis and decision aid for a home-garage owner, not a claim that one symptom proves one failed part. Vehicle design, service limits, warning behavior, and test conditions vary, so the exact owner manual and service information remain the final authority.
What the clues actually tell you
The fastest useful move is to describe what changed, when it happens, and what does not happen. The table below is a triage card: it narrows the next check but deliberately avoids turning a clue into a verdict.
| What you notice | What it suggests | Best next move |
|---|---|---|
| Tread bars are flush | Wear limit reached | Replace rather than rotate |
| Cord, belt, bulge, or deep cut appears | Structural damage | Do not drive on it |
| Fine surface checking only | Age still needs professional assessment | Appearance alone cannot prove internal condition |
| One edge wears rapidly | Alignment or suspension issue | Fix cause with tire decision |
| Pressure repeatedly drops | Leak or wheel issue | Inspect before adding air again |
Use several matching clues. One reading, one noise, or one dashboard lamp can be affected by temperature, recent service, battery state, road conditions, or the way the vehicle’s control system is designed.
Work through the evidence in this order
- Start with the placard. Confirm original size, load rating, cold pressure, and any front-rear differences. Replacement tires must satisfy the vehicle requirements.
- Measure tread. Use a gauge across inner, center, and outer grooves on every tire. The penny test is a screening tool, not a substitute for a numeric gauge.
- Read age correctly. Find the complete DOT Tire Identification Number; the final four digits identify week and year. Some codes appear only on one sidewall.
- Inspect condition. Look for bulges, cuts, exposed material, deep weather cracks, puncture location, uneven wear, vibration, and repeated pressure loss.
- Plan the replacement. Follow maker guidance on age, matching, axle placement, all-wheel-drive circumference limits, load, speed rating, and TPMS service.
Write the observations down. A short record of conditions, readings, warning lamps, and recent work is more valuable to a technician than a replacement-part theory. If a test requires bypassing a safety system, opening a pressurized circuit, working near moving parts, or lifting beyond your equipment, stop at the observation stage.
Tread-age-damage replacement decision card
The table and ordered checks above form the article’s working value object. To use it, circle the row that most closely matches the complaint, complete the next check, then revise the hypothesis. A result that contradicts the first guess is progress: it prevents a good component from being replaced and keeps the real fault visible.
Add three lines to the worksheet: conditions (cold, hot, wet, speed, load), evidence (measurement, code, wear, leak, sound), and decision (safe to monitor, book inspection, or stop and tow). That simple structure makes the diagnosis repeatable without pretending every vehicle shares one specification.
Common wrong turns
The tempting shortcut
Waiting for a completely bald center tread ignores dangerous shoulder wear. A safe repair plan should explain both the failed condition and the evidence that ruled out its closest look-alikes.
The misleading assumption
Treating six or ten years as a universal promise ignores manufacturer limits and condition. A safe repair plan should explain both the failed condition and the evidence that ruled out its closest look-alikes.
The incomplete repair
Replacing tires without correcting alignment, pressure, or suspension faults can ruin the new set. A safe repair plan should explain both the failed condition and the evidence that ruled out its closest look-alikes.
When to stop
Do not drive on a tire with a bulge, exposed cord or belt, tread separation, rapidly falling pressure, severe impact damage, or a vibration that began after striking a pothole. Install the approved spare or arrange roadside help. Never crawl beneath a vehicle supported only by a jack.
When the decision is “stop,” do not let schedule or convenience turn it back into “drive carefully.” Secure the vehicle away from traffic, use hazard warnings where appropriate, and arrange roadside or workshop help. Safety-critical faults can change faster than a symptom list suggests.
Related guides
These links are selected for the next safe decision rather than for keyword repetition. They cover the closest supporting check, tool, or workshop-safety step available before this article’s publication date.
Frequently asked questions
Do tires expire at six years?
Some vehicle and tire manufacturers recommend replacement at six years; others specify different inspection or maximum-life guidance. Follow both makers and use the earlier applicable limit.
Is tread depth enough to judge a tire?
No. Age, heat, pressure history, sidewall damage, repairs, irregular wear, vibration, and storage also matter.
Should all four tires be replaced together?
That depends on drivetrain, remaining tread, matching requirements, and manufacturer limits. AWD systems may restrict allowable circumference differences.
Sources
- NHTSA TireWise: pressure, tread, aging, damage, and TPMS guidance
- NHTSA: cold-pressure, tread, age, and road-trip tire checks
Bottom line: Replace a tire when tread reaches its legal or safe wear limit, when there is nonrepairable damage or exposed structure, when it will not hold pressure, or when age and condition exceed the vehicle or tire maker’s limit. There is no single mileage or calendar rule that overrides an inspection. Use the evidence path, respect the stop conditions, and confirm the exact repair against vehicle-specific information.