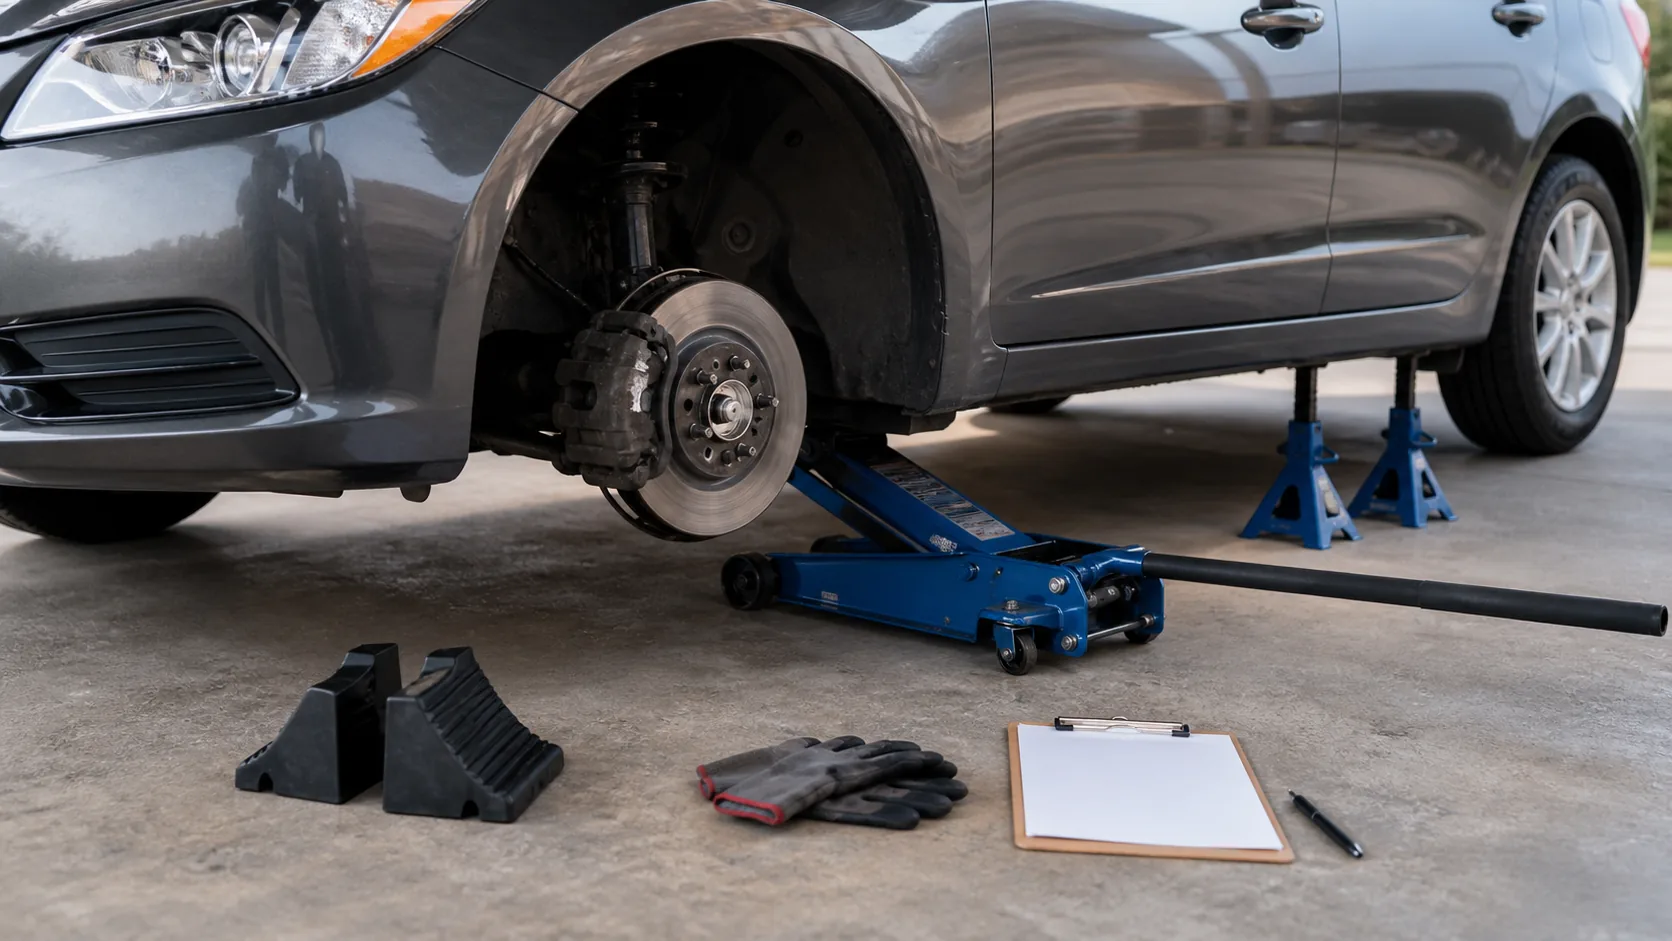
Most floor-jack mistakes are not mysterious mechanical failures. They are small skipped checks: a sloped surface, an unchocked wheel, a saddle slightly off-center, or a stand placed under the wrong metal.
A repeatable checklist reduces those avoidable errors and makes it easier to stop when something does not look right.
Quick answer: Work on firm, level ground; inspect the jack and stands; confirm rated capacity and approved lift points; chock the grounded wheels; lift slowly; support the vehicle on stands; and verify stability before entering the work area. Lower only after tools and people are clear.
Before lifting
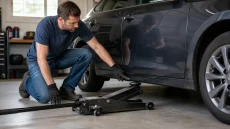
Park on clean, hard, level concrete. Put the transmission in Park or in gear as the manual directs, set the parking brake when appropriate, switch off the engine, and remove unnecessary passengers and cargo movement. Chock the wheels that remain on the ground in the direction the vehicle could roll.
Inspect the jack for leaks, bent parts, damaged wheels, a loose saddle, or unusual movement. Inspect stands for cracked welds, bent legs, worn teeth, damaged pins, and mismatched parts. Confirm capacities and height ranges.
During the lift
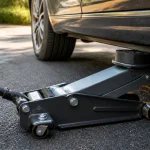
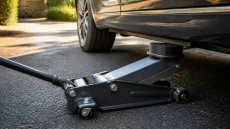
Center the saddle beneath the manufacturer-approved point. Pump slowly while watching both the contact point and the jack’s casters. The jack often needs to roll a small distance as its arm rises; a blocked wheel can pull the saddle sideways.
Stop just after contact and again when the tire begins to unload. If the vehicle shifts, the saddle tilts, the floor cracks, or you hear deformation, lower it and reset. Do not place hands, feet, or your head beneath an unsupported vehicle.
Supporting and checking the vehicle
Place matching, correctly rated stands at the specified support points. Set them to equal heights when supporting an axle or end, engage their locks fully, and lower the vehicle gradually until the load is seated. Keep the jack close as a secondary precaution only if it does not interfere; it does not replace stands.
From outside the crush zone, apply a modest controlled push to the vehicle. Any rocking, sliding, or stand movement means the setup must be lowered and corrected.
After the work
Remove tools, drain pans, creepers, and parts from underneath. Account for everyone in the area. Raise the vehicle just enough to free the stands, remove them, and lower slowly while watching the tires and jack position.
After the vehicle is fully on the ground, remove chocks and torque wheels or complete other service checks according to the vehicle procedure. Inspect and clean the jack before storage.
Common mistakes to avoid
- Lifting on a driveway that looks level but is visibly sloped.
- Skipping wheel chocks because the parking brake is set.
- Using concrete blocks, bricks, or loose lumber as stands or saddle extensions.
- Starting work before the vehicle’s stability has been checked.
Safety reminder for floor jack safety checklist: the jack raises the vehicle; it does not replace a support stand. Except for the limited roadside wheel-change procedure described by the vehicle maker, transfer the load to correctly rated stands before any part of your body enters the under-vehicle danger zone.
Frequently asked questions
Can I work under a car with the floor jack left in place?
No. A hydraulic jack can leak down, roll, or be disturbed. Use approved support stands at the specified points.
Should the parking brake always be on?
Follow the vehicle’s procedure. It is commonly applied, but some jobs require a particular axle or brake component to move; wheel chocking and the manual remain essential.
Is a rubber jack pad required?
Only when it suits the designated point and equipment. It can protect a seam, but the wrong adapter may reduce stability or height.
Related guides
- our step-by-step floor jack guide
- our jack stand guide
- What Size Floor Jack Do I Need? 2-Ton vs 3-Ton vs 4-Ton
- How to Find the Correct Jacking Points on Any Car
Final thoughts
Print or save the checklist until the sequence becomes routine. Safe lifting is less about speed than about making the same deliberate checks every single time.
Source note for floor jack safety checklist: this guide was checked against UK HSE vehicle-lifting safety guidance. Use that safety context together with the instructions, limits, and lift points published by your vehicle and equipment manufacturers.
Use the procedure for your exact lift
For a complete garage sequence, follow how to use a floor jack safely. If the manual approves a center point, use the additional checks for lifting the car from the front. For emergency tire changes, see the scissor-jack procedure, and choose support equipment with the jack-stand decision guide.