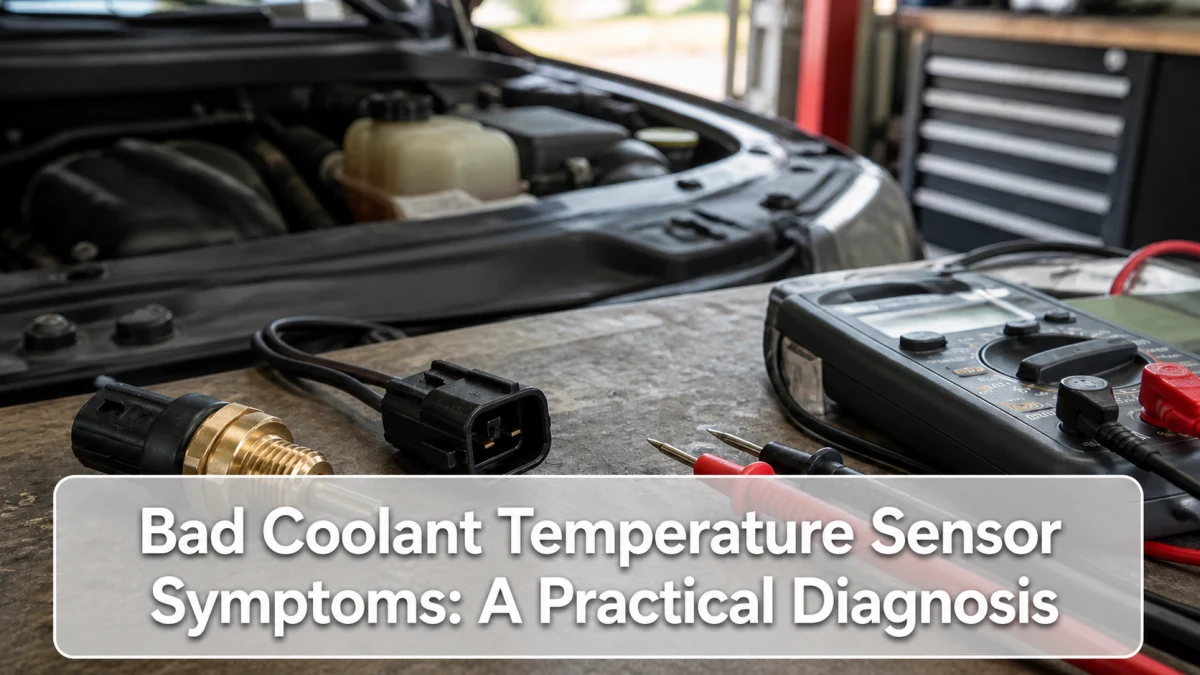
A bad coolant-temperature sensor can cause hard starting, an unusually high idle, poor fuel economy, incorrect gauge behavior, cooling-fan problems, or a check-engine light. Those symptoms overlap with thermostat, wiring, coolant-level, and engine problems, so the strongest diagnosis comes from comparing the sensor reading with the engine’s actual temperature and the surrounding conditions.
What the sensor controls
The engine coolant-temperature sensor reports temperature to the powertrain control module. The module can use that input to adjust fuel delivery and ignition, manage cooling fans, evaluate warm-up, and support dashboard information. Some vehicles use more than one temperature sensor or derive the gauge display through a separate module, so the component behind a symptom is not universal.
Most traditional coolant sensors are negative-temperature-coefficient thermistors: resistance falls as temperature rises. HELLA notes that reference values vary by manufacturer, which is why a generic resistance chart should not be treated as a pass/fail specification.
Sensor-versus-thermostat comparison
| Clue | Sensor or circuit becomes more likely | Thermostat becomes more likely |
|---|---|---|
| Cold-start scan reading | Implausible relative to ambient | Plausible before startup |
| Reading during warm-up | Jumps, drops out, or shows an extreme value | Changes smoothly but too slowly or too quickly |
| Radiator fan | Runs as a fail-safe with a sensor fault | May be normal while warm-up remains wrong |
| Gauge versus physical evidence | Gauge says hot but engine and hoses are still cold | Gauge trend agrees with actual cooling behavior |
| Wiring movement | Reading changes when a damaged harness moves | No electrical sensitivity |
This matrix helps choose the next test; it does not replace vehicle-specific diagnosis.
Common bad-sensor symptoms
Poor cold starting or high idle
If the computer believes a cold engine is already warm, it may command the wrong cold-start mixture. If it believes a warm engine is cold, it may enrich unnecessarily. Air leaks, fuel-pressure faults, ignition problems, and other sensors can produce the same behavior.
Fuel economy changes
A biased reading can keep warm-up enrichment active longer than intended, but weather, trip length, tire pressure, and driving pattern must be considered before attributing a small economy change to one sensor.
Fan runs continuously or not when expected
Some control systems run the fan as a protective response to a missing or implausible temperature signal. Others use separate sensors or more complex strategies. Never reach near an electric fan because it appears off.
Gauge behaves strangely
A gauge that jumps instantly, reads hot on a stone-cold engine, or changes when the connector moves points toward an electrical issue. A slowly rising gauge with physical overheating evidence requires immediate cooling-system attention regardless of sensor suspicion.
A practical diagnostic sequence
- Scan for codes and record freeze-frame data. Do not clear evidence before noting it.
- Compare cold temperatures. After an overnight soak, coolant and intake-air readings should be plausible for the surroundings. Use manufacturer tolerance.
- Warm the engine while graphing the reading. A normal signal should change progressively. Stop if the engine overheats.
- Inspect the circuit. Check the plug, pin fit, ground, reference supply, continuity, and shorts using the correct wiring diagram.
- Test the sensor to specification. Measure only as the service procedure directs; do not apply voltage to a resistance-test circuit.
- Confirm the repair. Recheck cold plausibility, warm-up trend, fan operation, and returning codes.
Do not ignore real overheating
A faulty sensor can lie, but it can also be reporting a real problem. Steam, coolant loss, boiling, knocking, loss of power, or a red temperature warning demands a safe stop. Allow the engine to cool fully and never remove a pressurized cap.
Review the differences between a thermostat stuck open and a thermostat stuck closed before replacing the sensor. If under-vehicle inspection is required, follow the floor-jack safety checklist.
Replacement details that matter
Confirm whether the sensor seals with a washer, O-ring, tapered thread, or approved sealant. Installing the wrong sealant can interfere with grounding on some designs or contaminate the cooling system. Work only on a cold engine, capture spilled coolant, tighten to the specified torque, refill with the correct coolant, and follow the manufacturer’s bleeding procedure. Afterward, inspect for leaks and verify that the scan reading follows a believable warm-up curve.
Frequently asked questions
Can you test a coolant sensor with a multimeter?
Often, yes, but the connector pins, resistance curve, supply voltage, and test conditions must come from the correct wiring diagram and service information. HELLA provides a general method while emphasizing manufacturer-specific reference values.
Can a bad sensor cause no-start?
An extreme false reading can disrupt starting mixture on some vehicles, but battery, starter, ignition, fuel, compression, and immobilizer faults are more common categories that still require diagnosis.
Should I replace the thermostat and sensor together?
Not automatically. Replace the failed component supported by test results. Parts swapping can hide wiring faults and introduce new coolant leaks.
Sources
- HELLA: coolant-temperature sensor function and testing
- HELLA: cooling-system troubleshooting sequence
Bottom line: compare cold plausibility, warm-up trend, wiring condition, and manufacturer-specific values. A symptom list can suggest the sensor; a measured signal and circuit check should decide.